


Nextcloud gives you access to all your files from anywhere. Where are your photos and documents? With Nextcloud, you can choose a server you like — whether it's at home, in a data center, or from a third-party provider.
Your files will be stored on that server. Nextcloud protects your data and allows you to access it from your desktop or mobile devices. With Nextcloud, you can also access, sync, and share existing data stored on FTP servers, Dropbox, or your NAS at home.
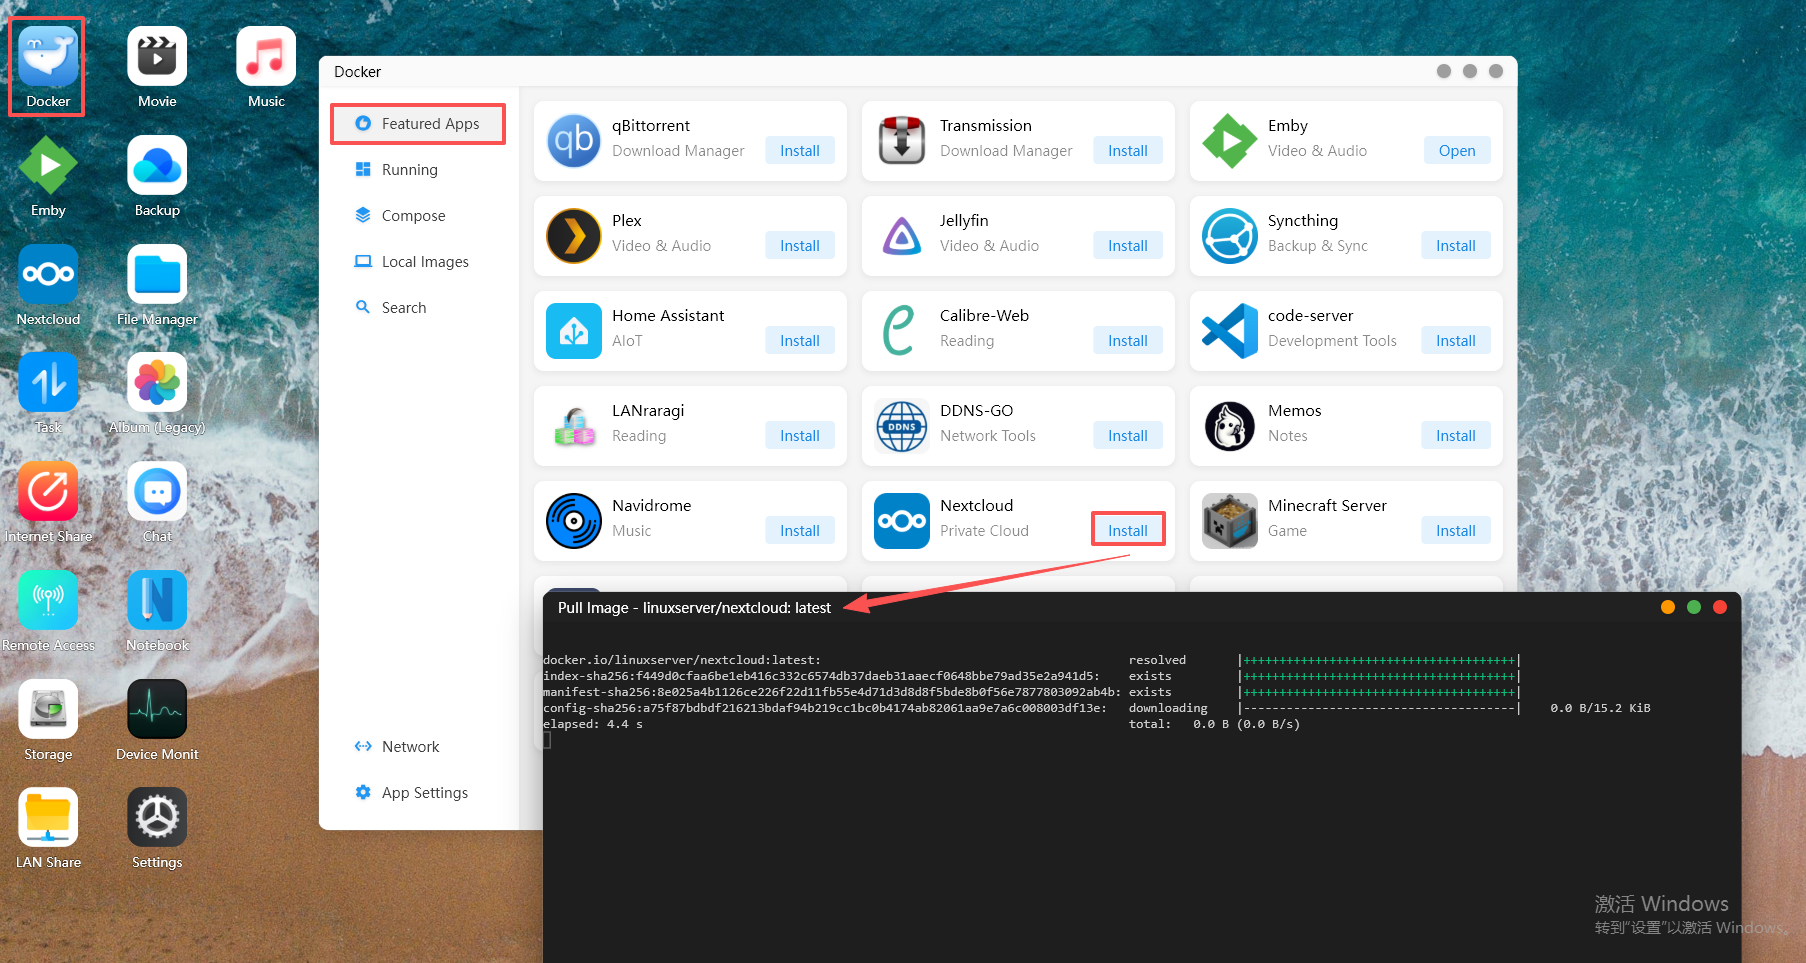
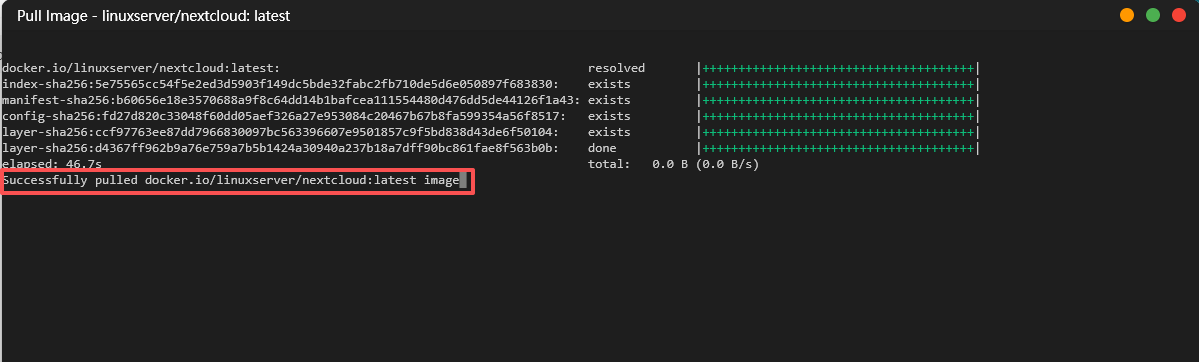
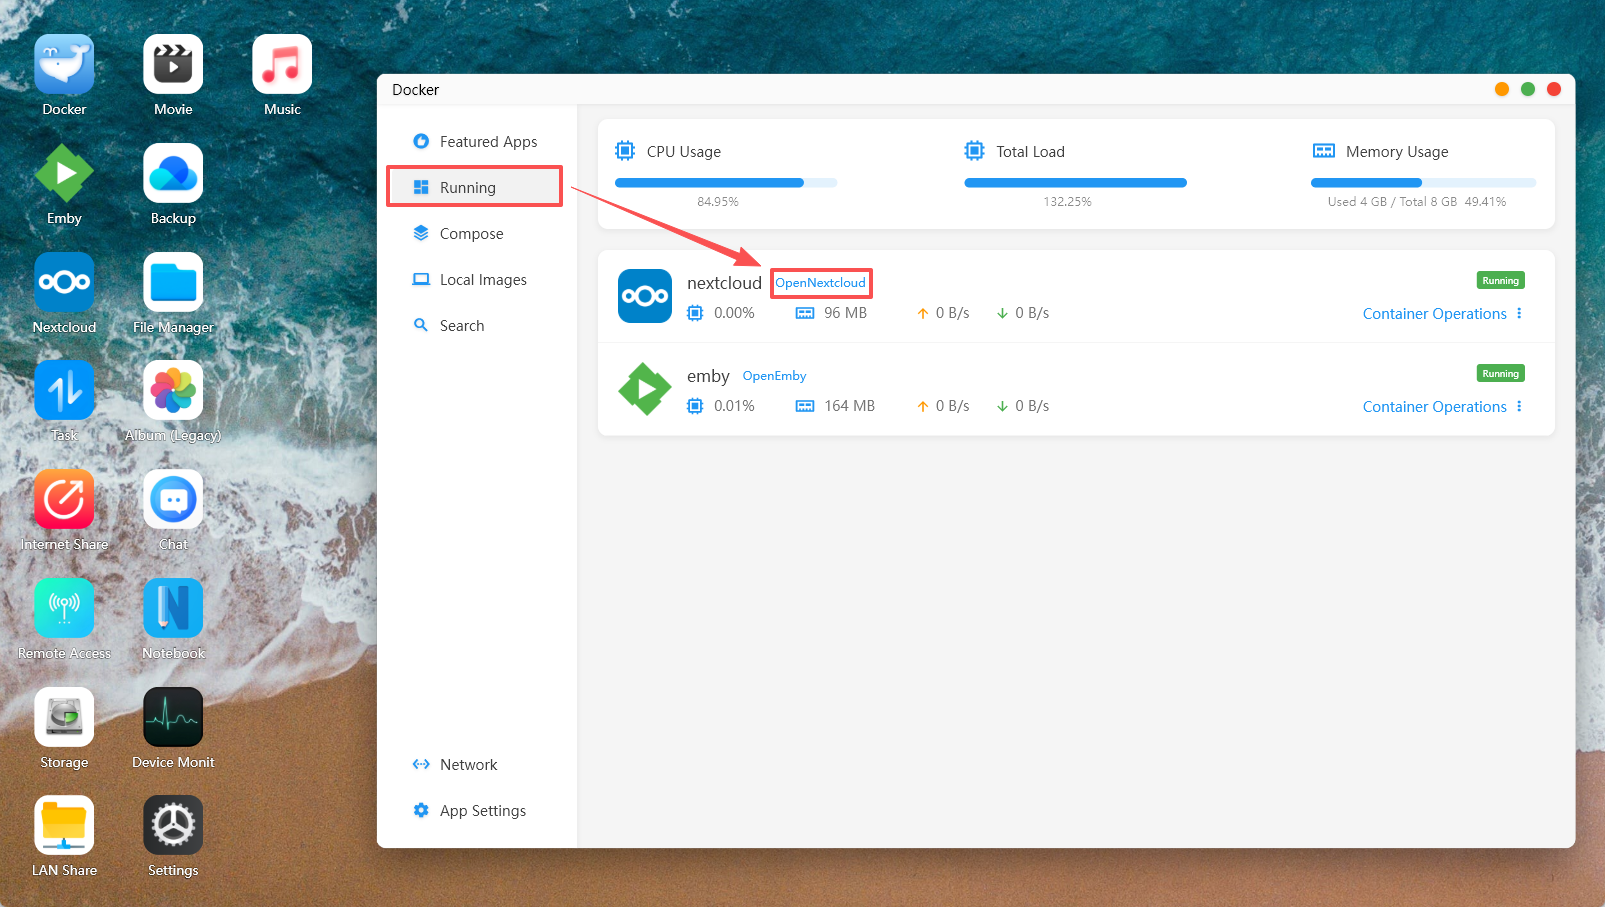
2.Click "Running" to find the pulled Nextcloud image, then click "Open Nextcloud" to enter the web interface.
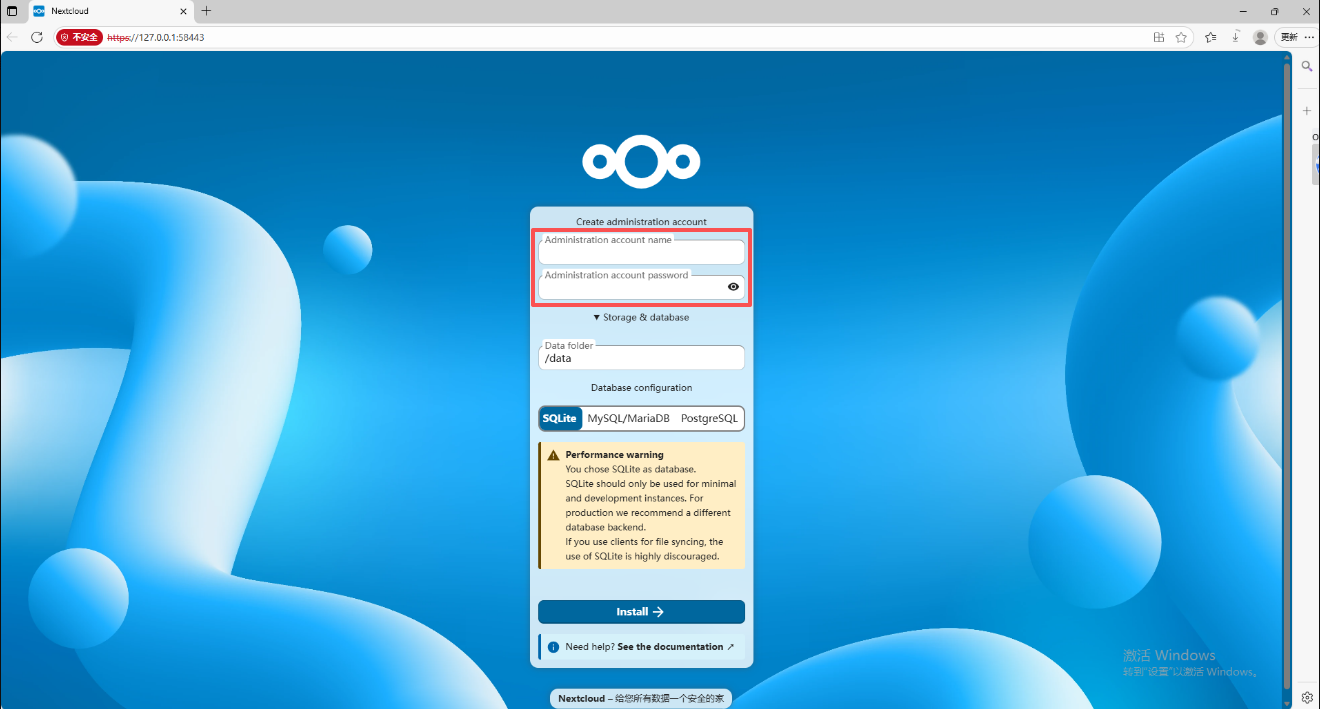
3.After entering the web interface, you will need to create an account. Set up your own Nextcloud password according to your needs, and configure the database settings. Once all fields are filled in, click "Install".
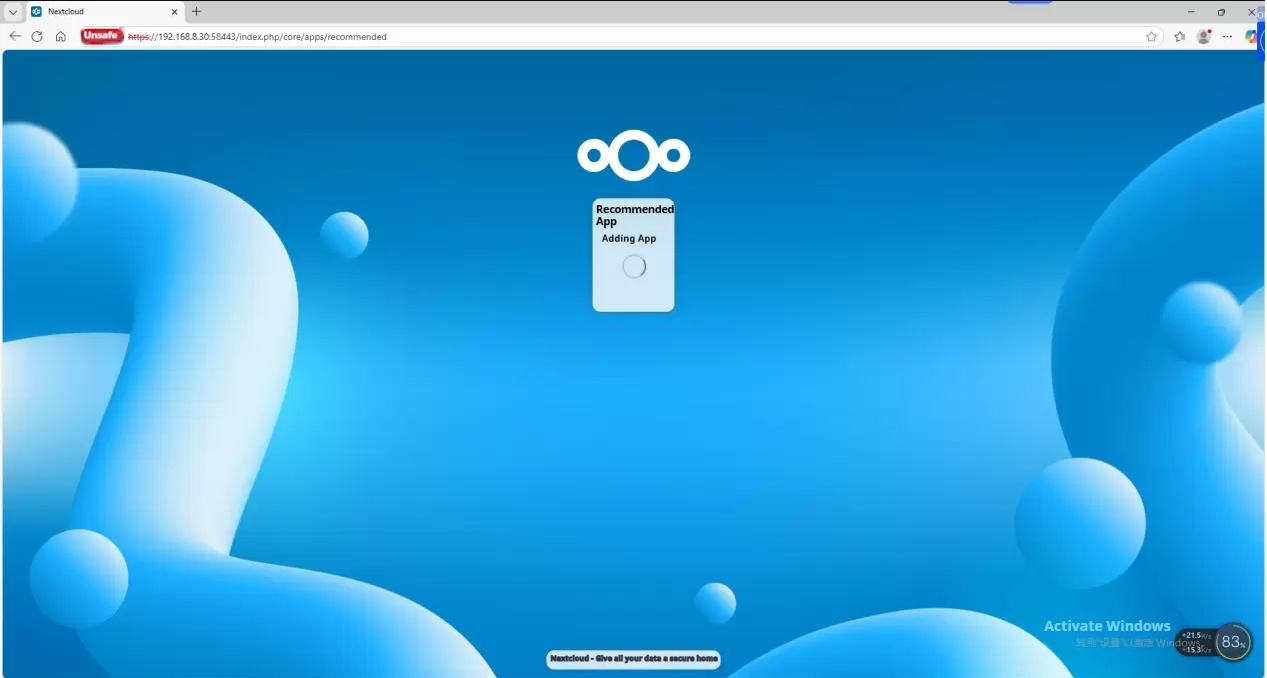
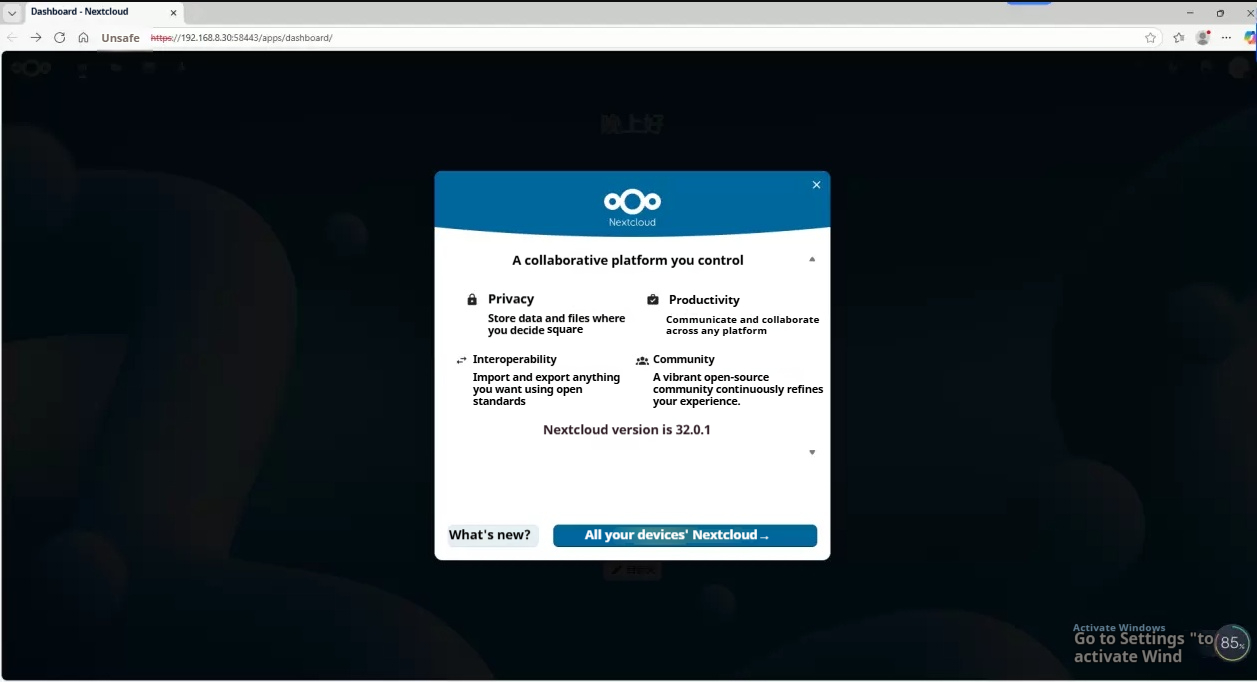
4.After a successful installation, a pop-up window will appear. Click the 【 × 】 to close it, and the dashboard home page will be displayed.
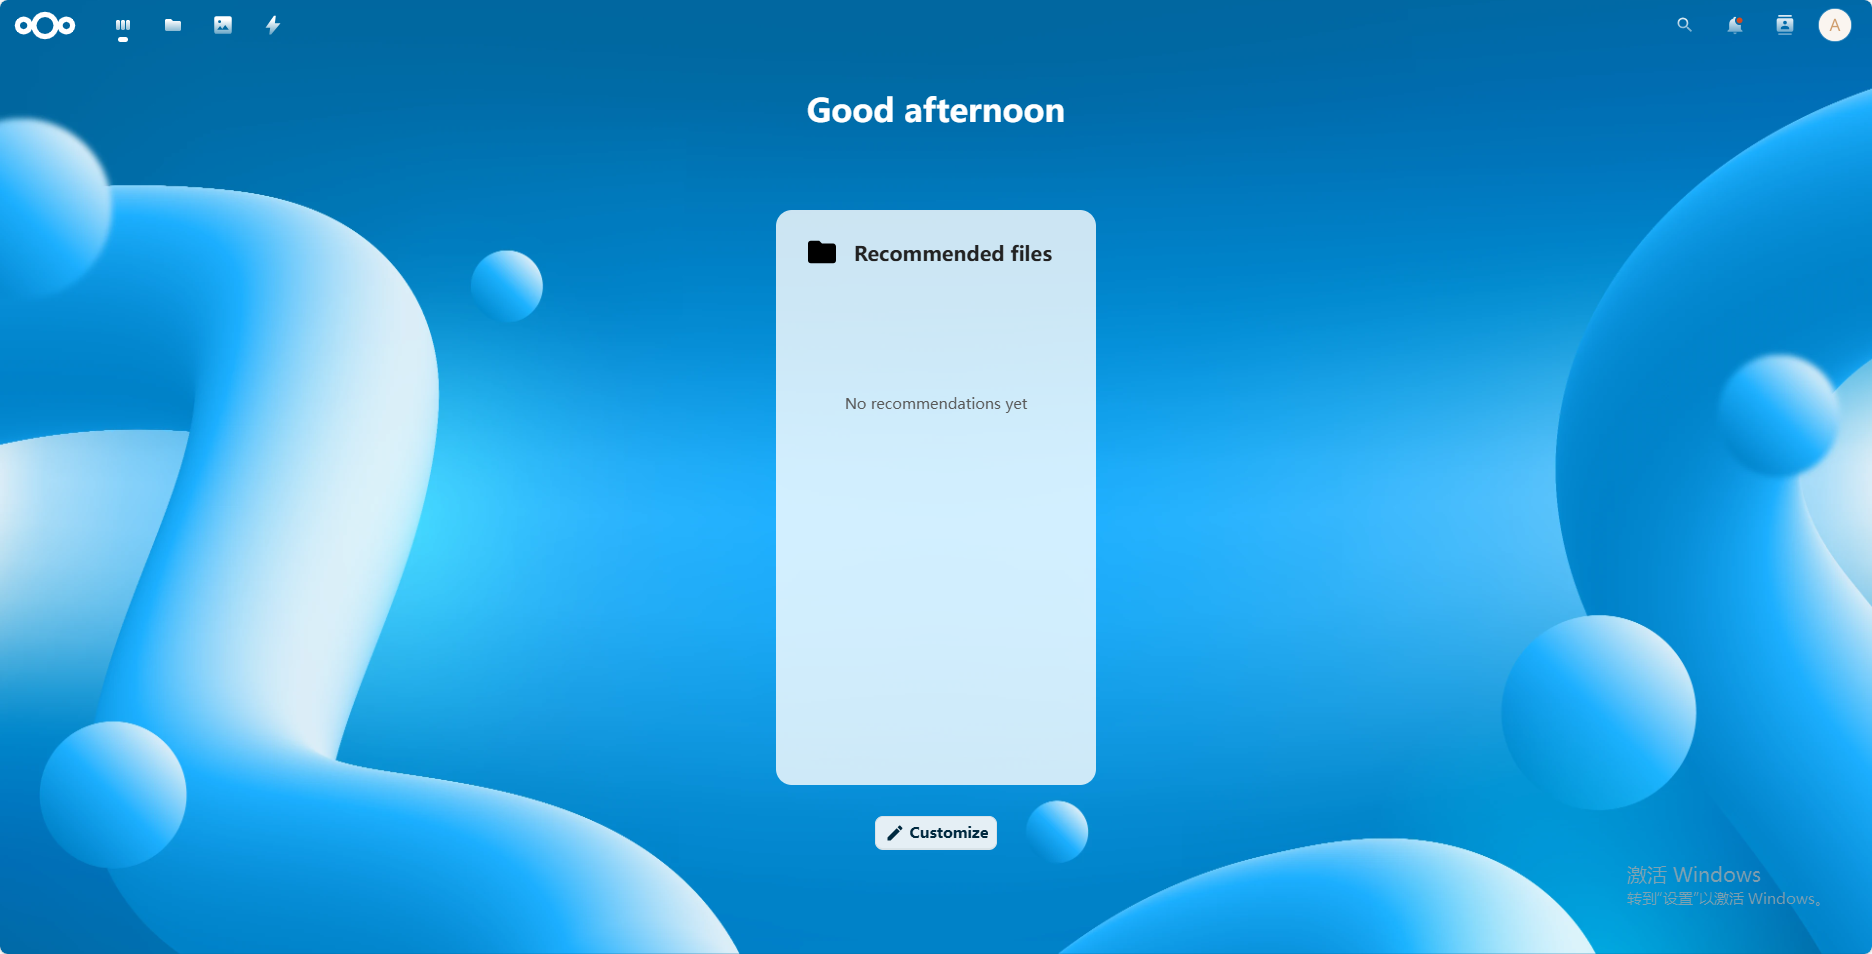
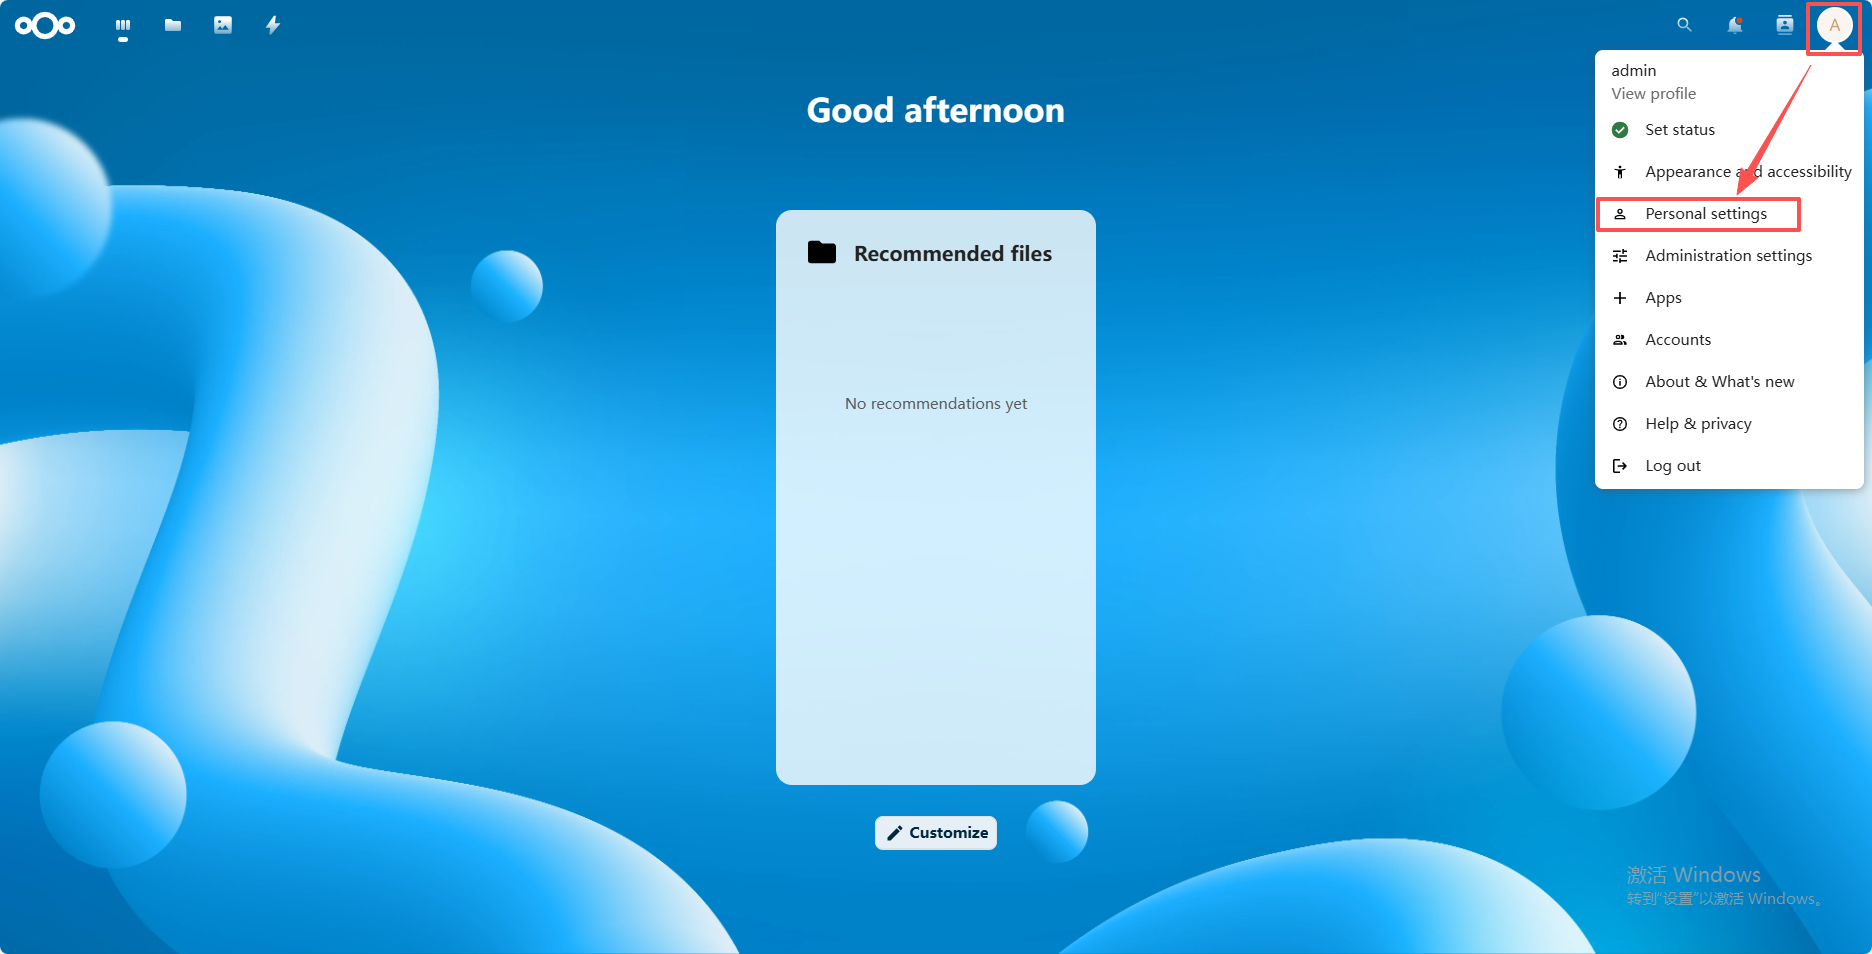
5.Click "Personal Settings" in the upper-right corner to enter the personal information page, where you can edit your own profile.
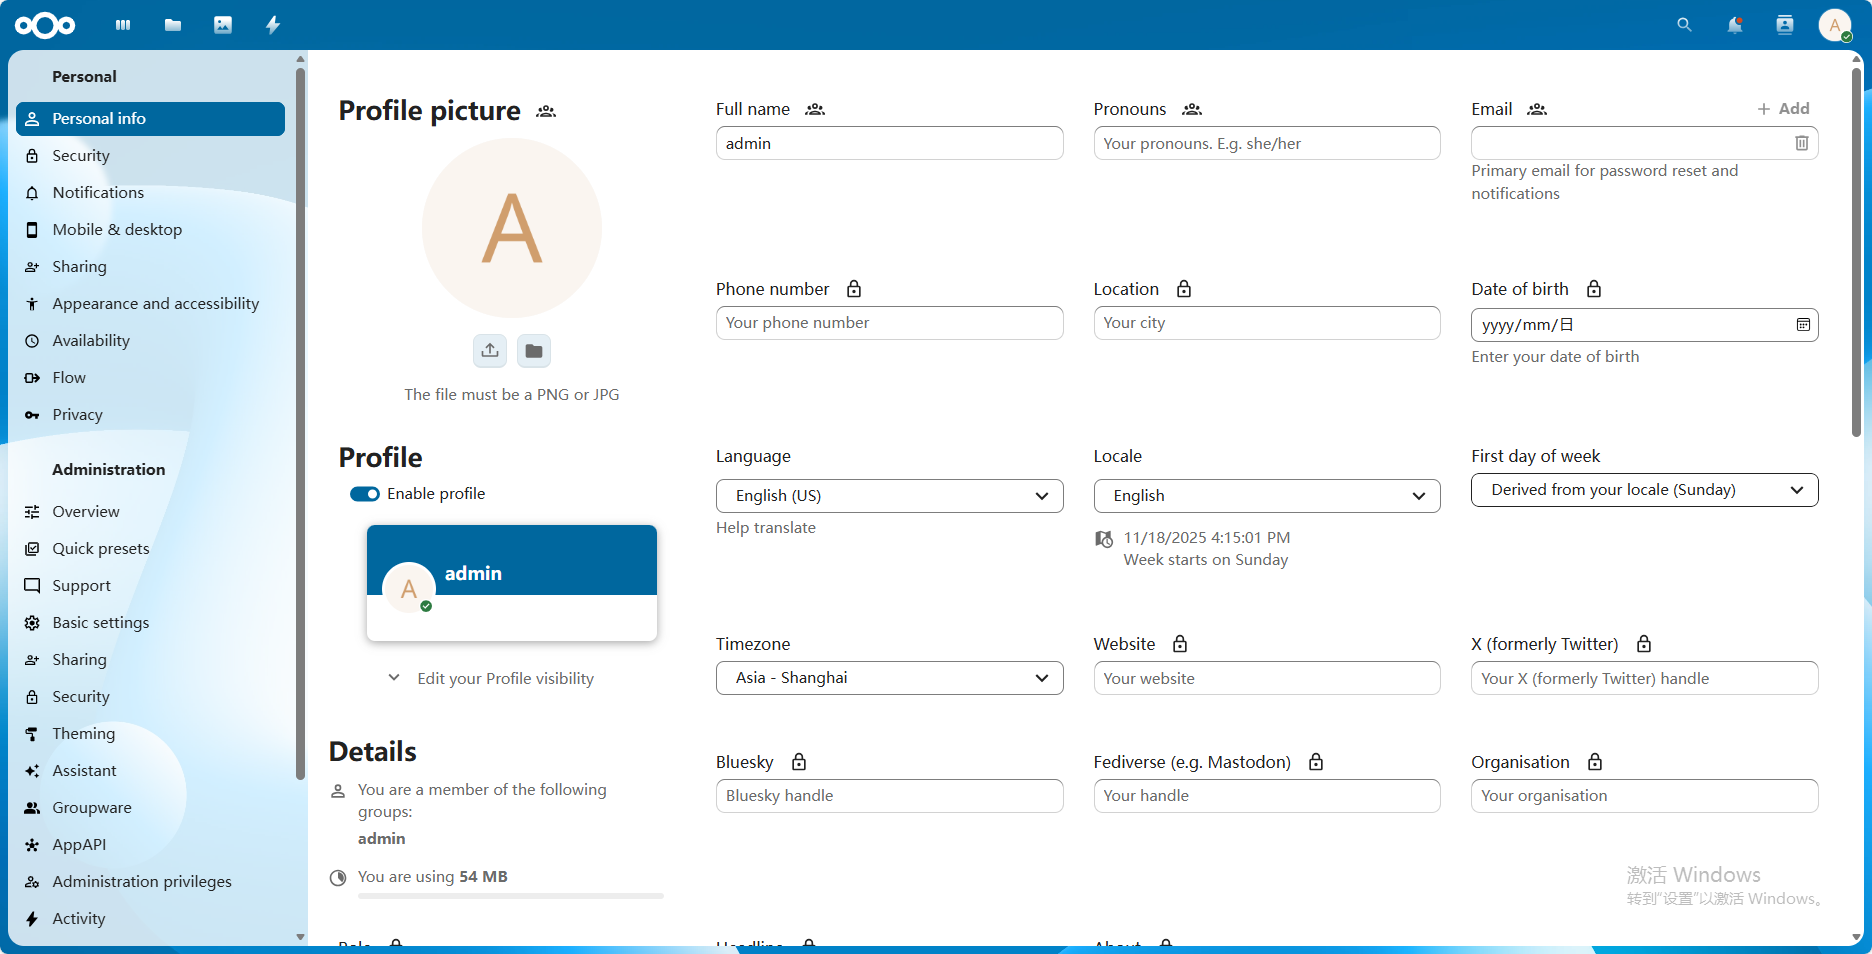
6.Hover your mouse over the upper-left corner to see the Files module. Here you can view all your files and also perform actions such as uploading, creating new files, and more.
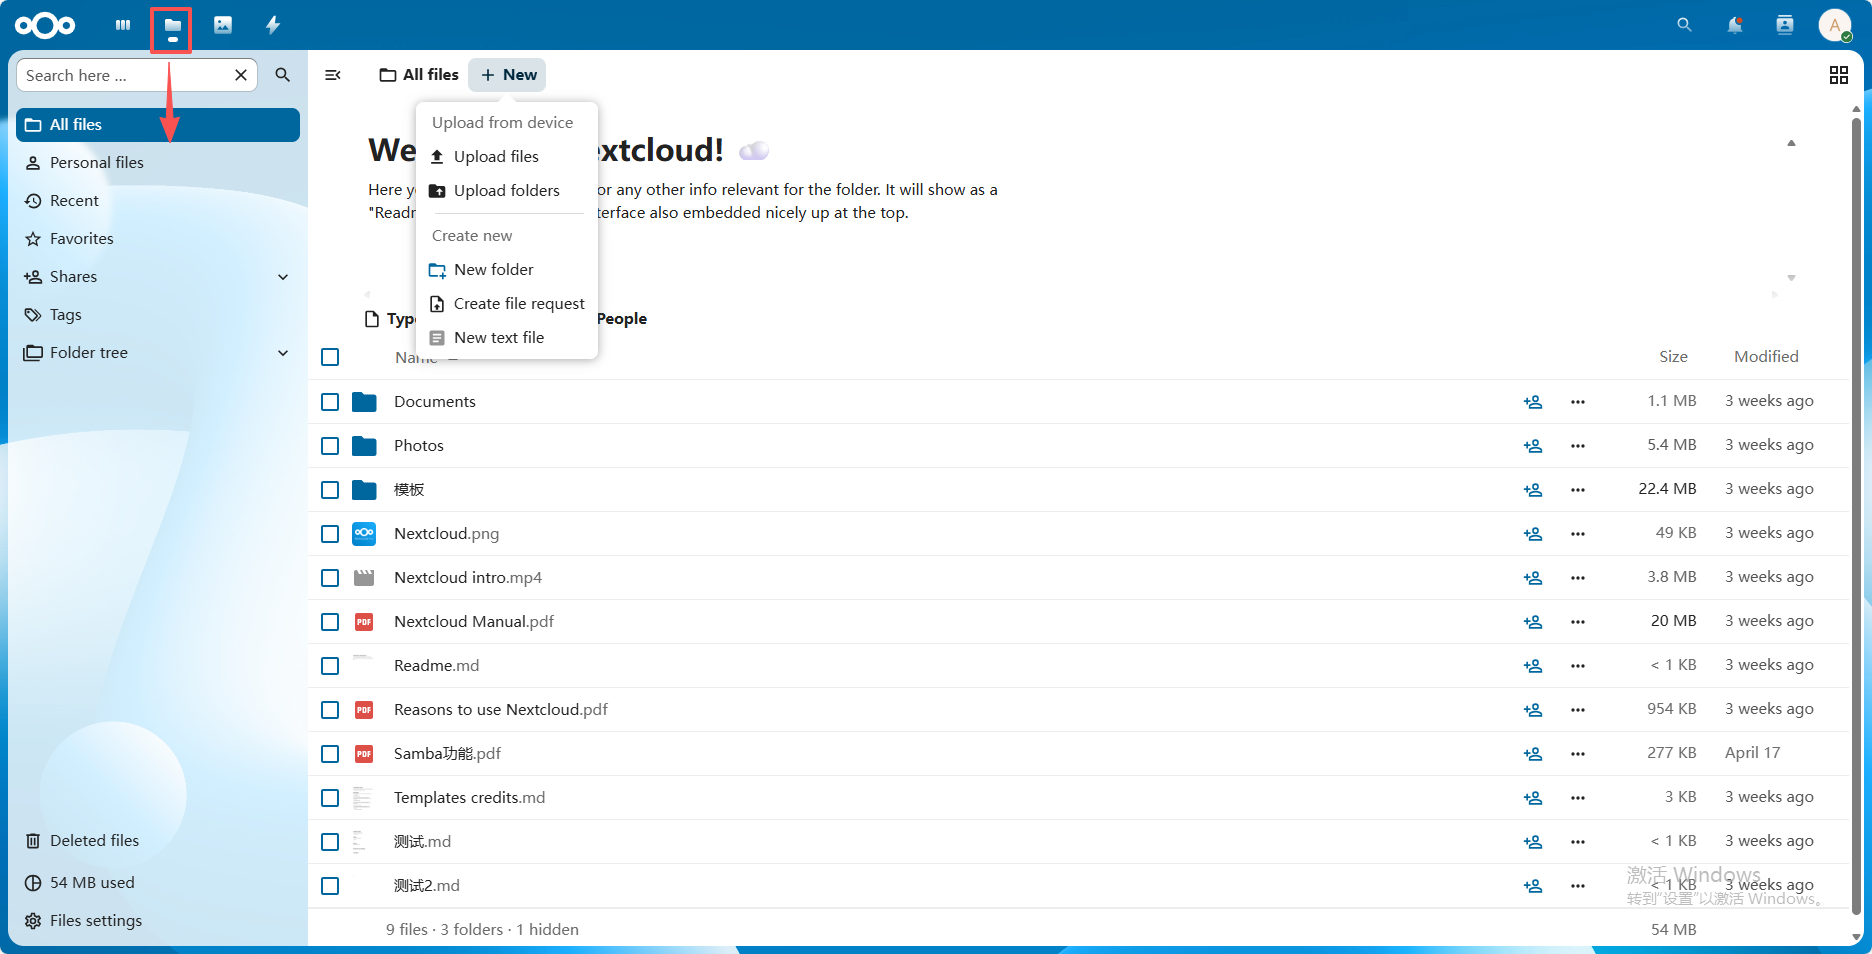
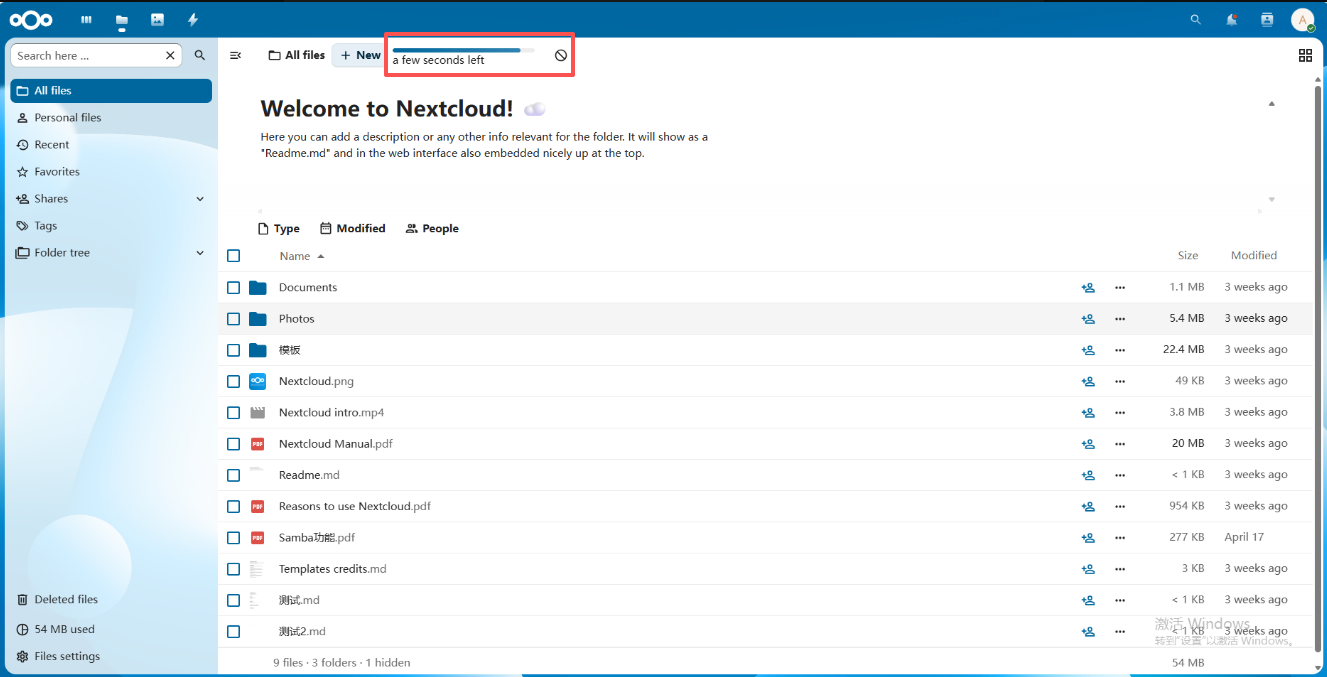
Click "Upload File", select your files, and the page will show how many seconds are left until the upload is complete. After the upload finishes, you will see the uploaded files listed.
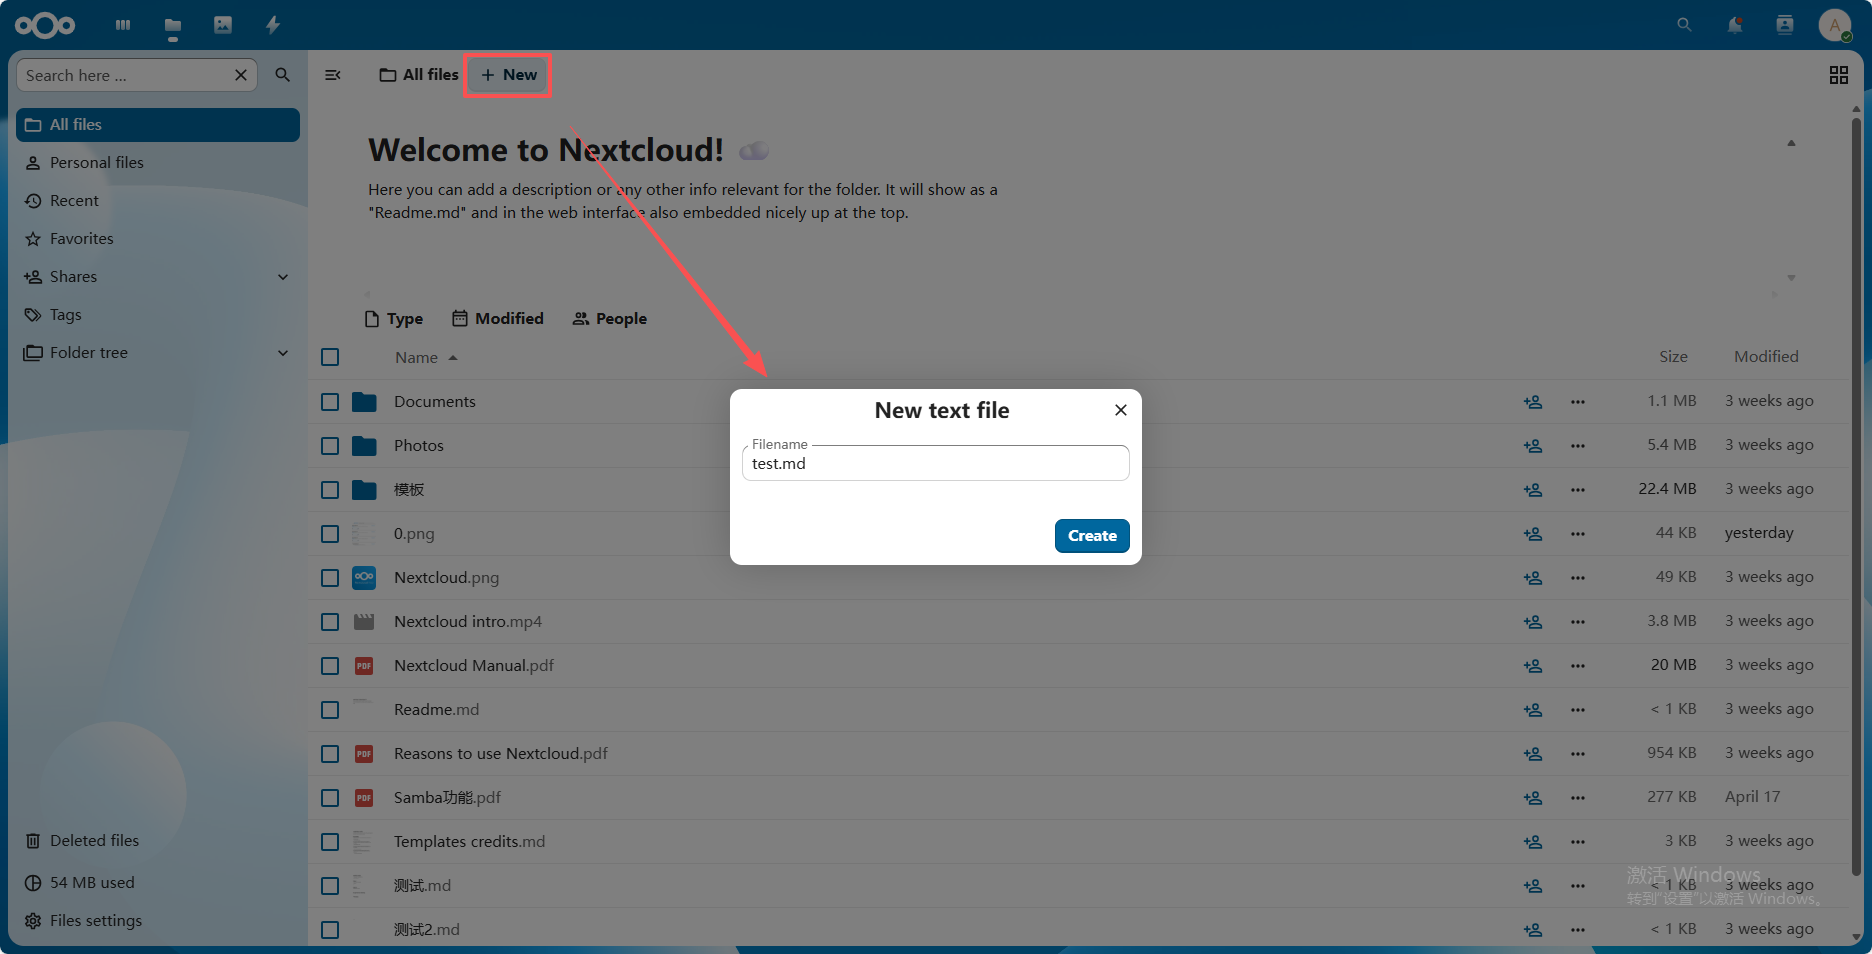
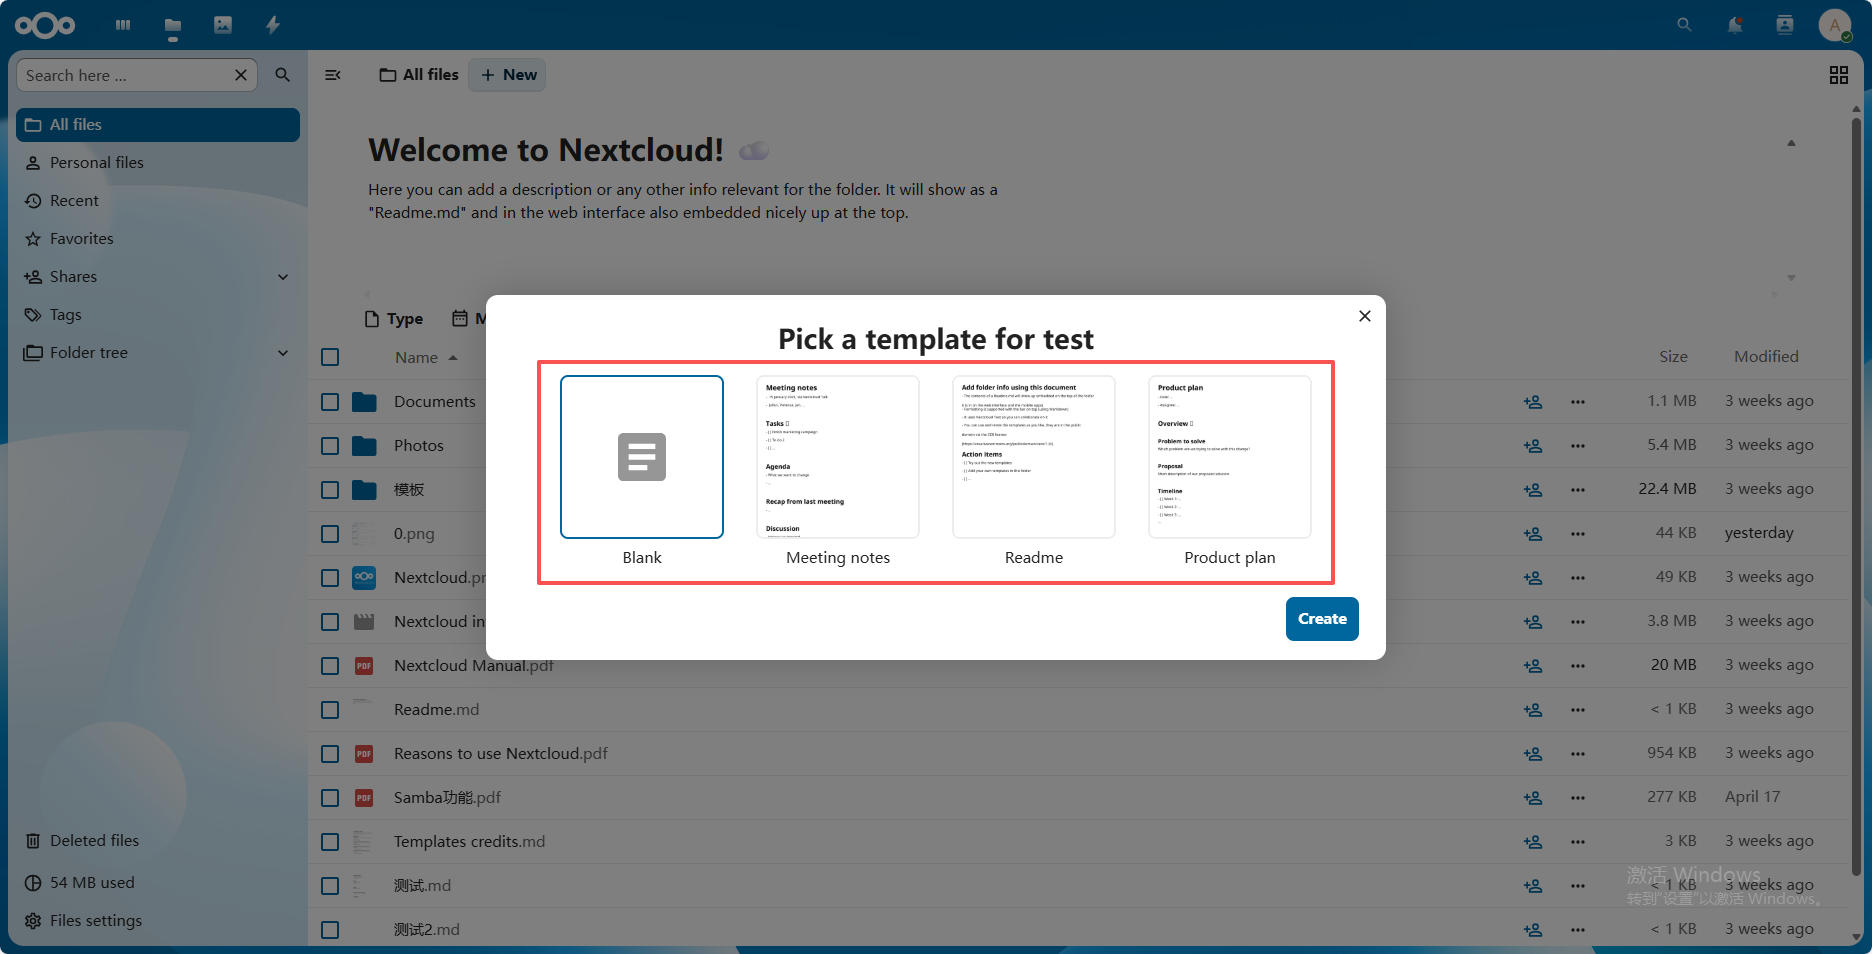
Click "New Text File" and you will need to name the file first.
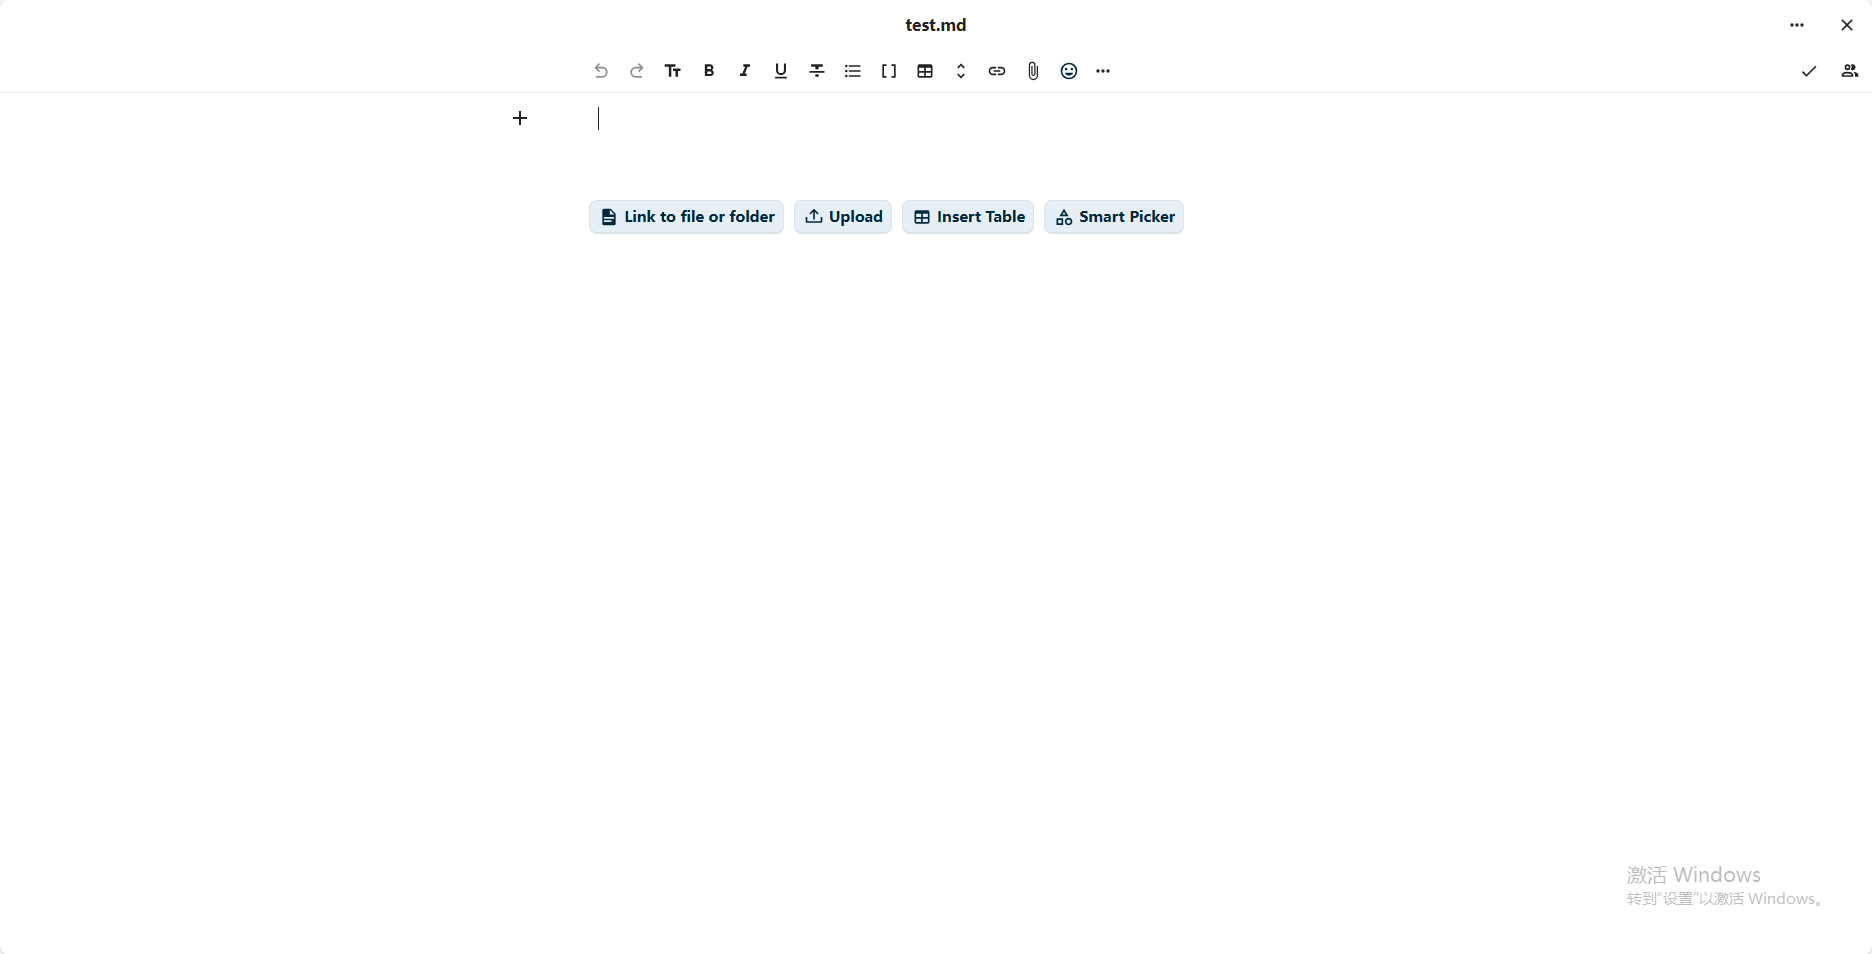
After naming the file, you will be presented with template options to choose from. Using a blank template as an example, selecting it will automatically open the editing page. After editing the content, click the 【 √ 】 in the upper-right corner, then click the 【 × 】 to close. Returning to the file list, you will see the newly created file.
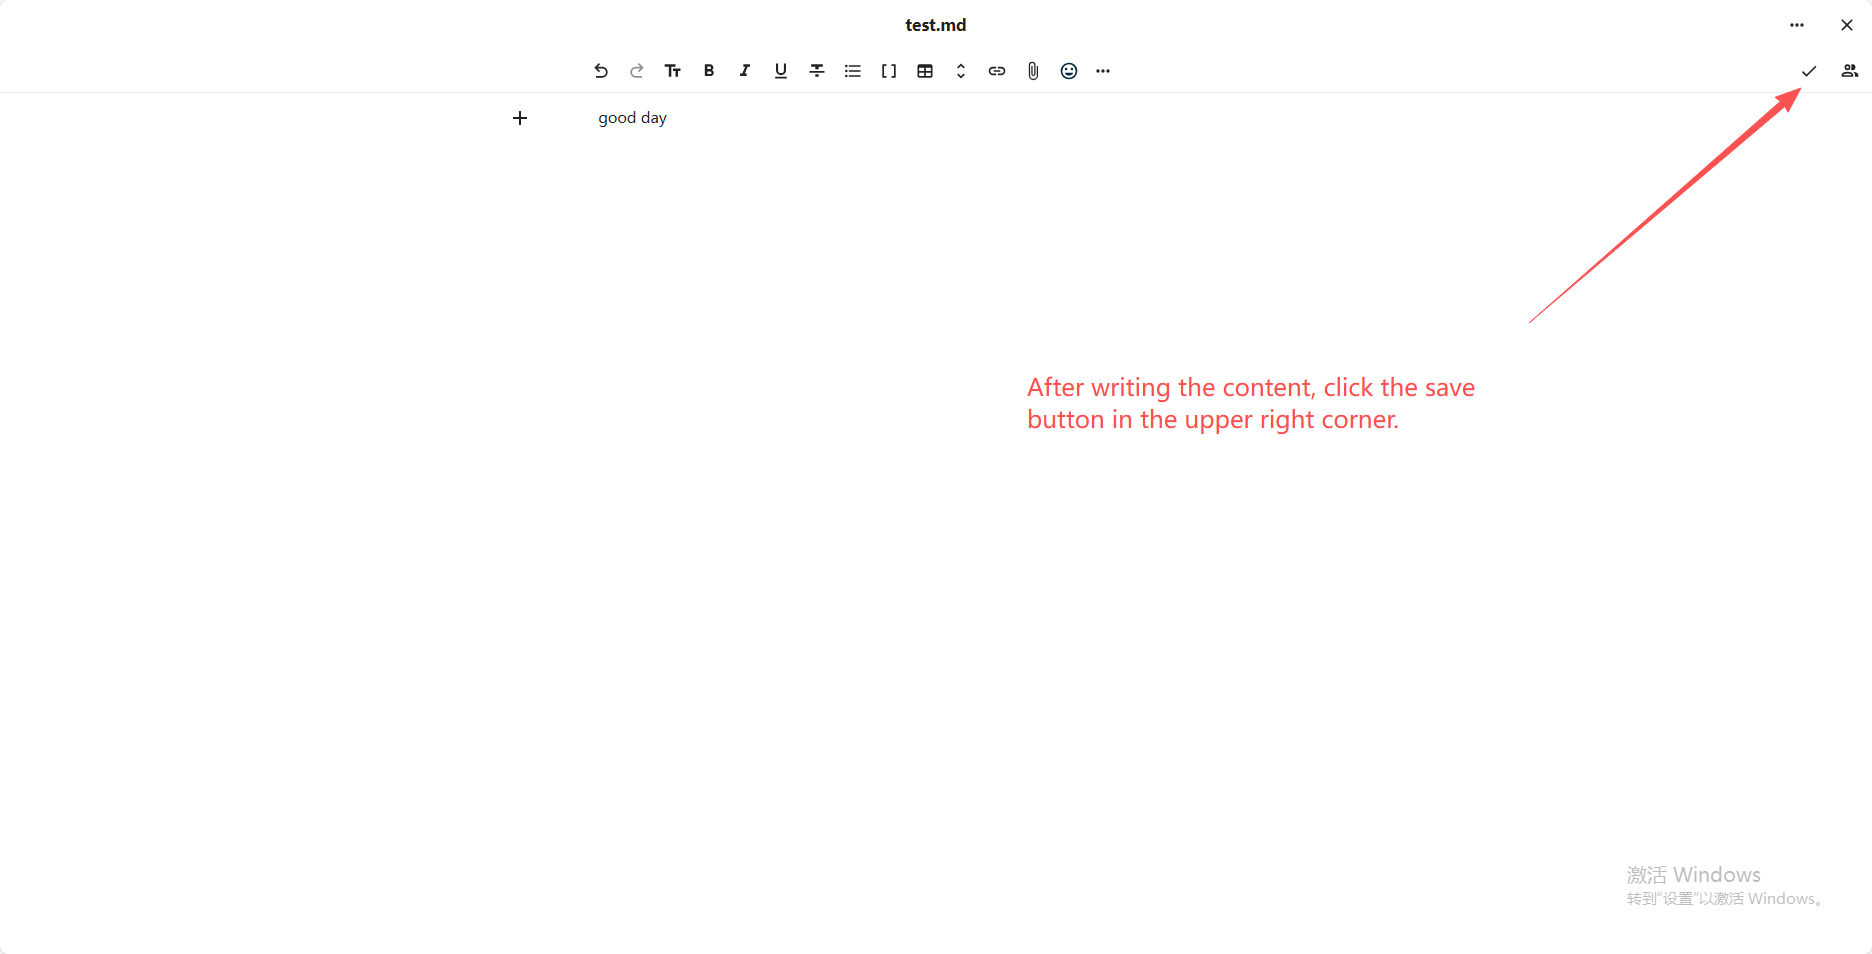
7.Hover your mouse over the upper-left corner and click the Photos module, where you can view all your image and video files.
8.Hover your mouse over the upper-left corner and click the Activity module, where you can see all activity information, such as the newly created files you just made.
