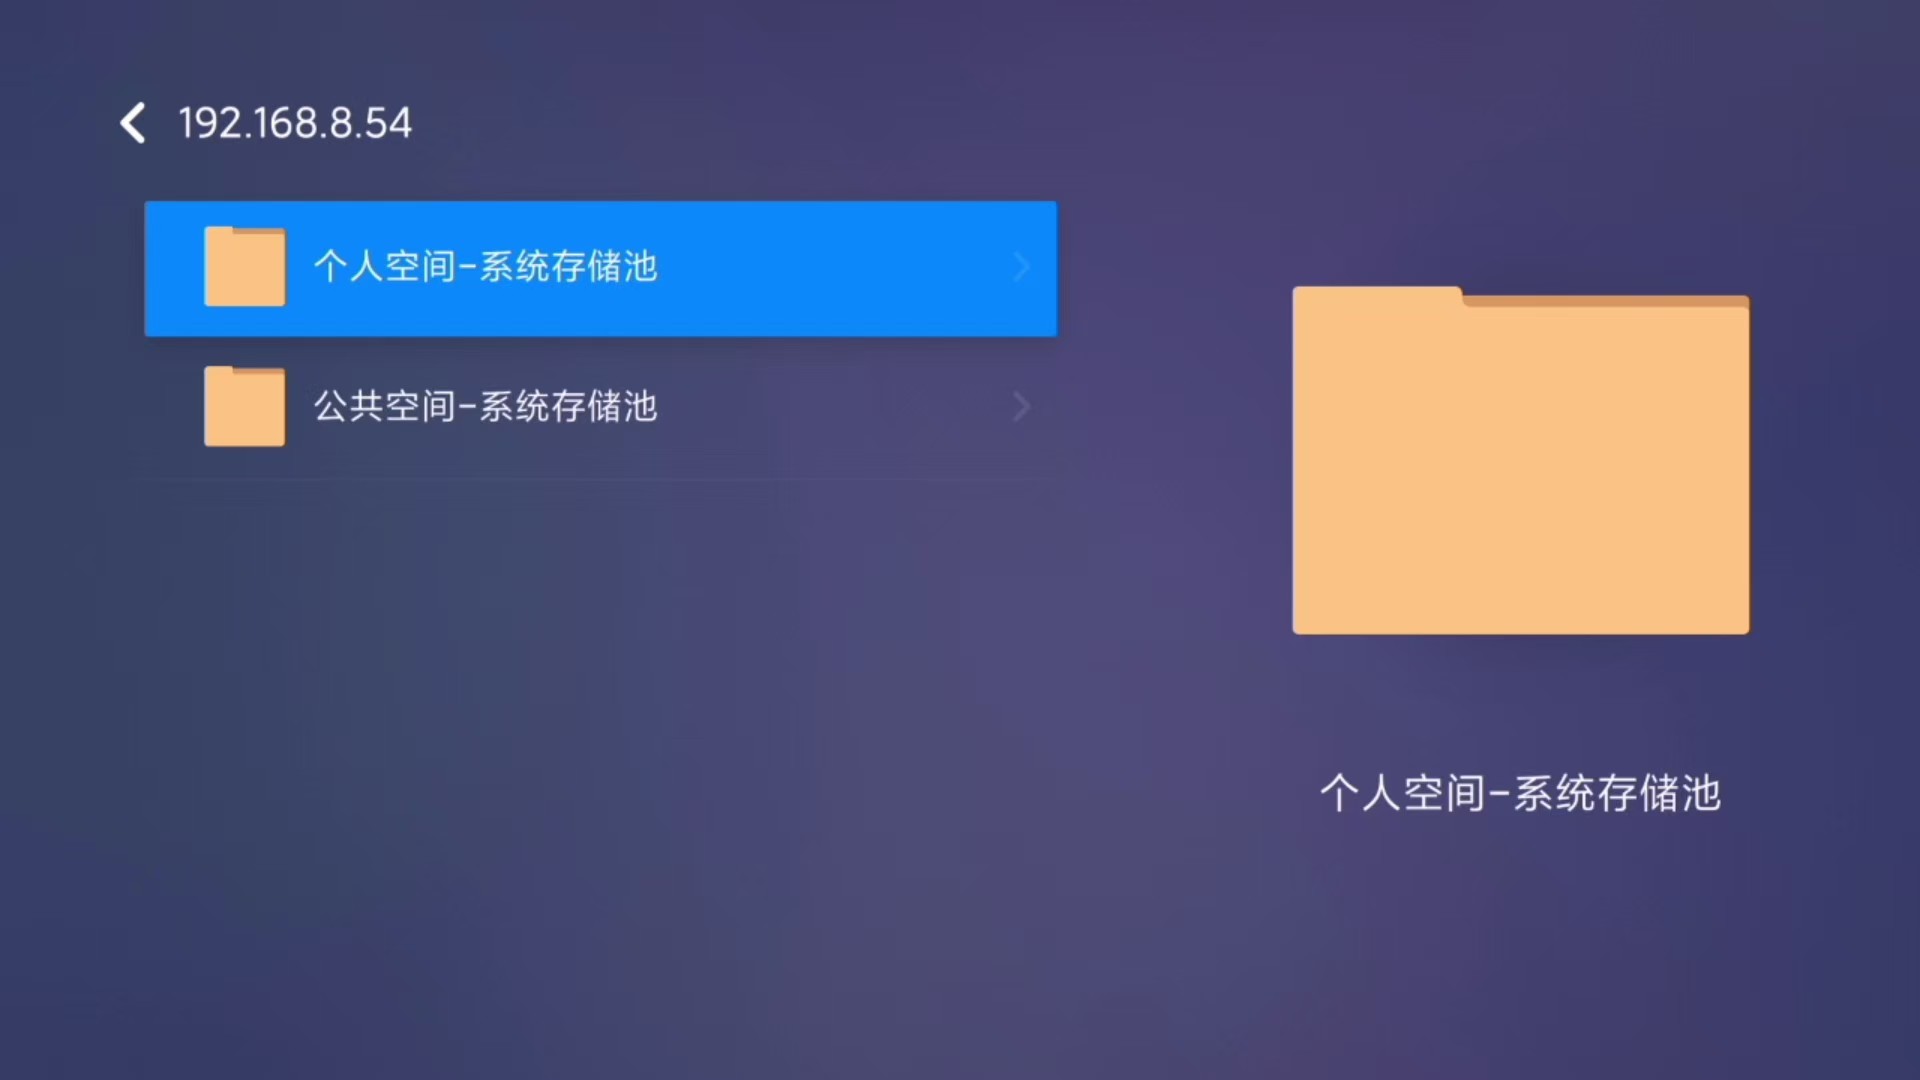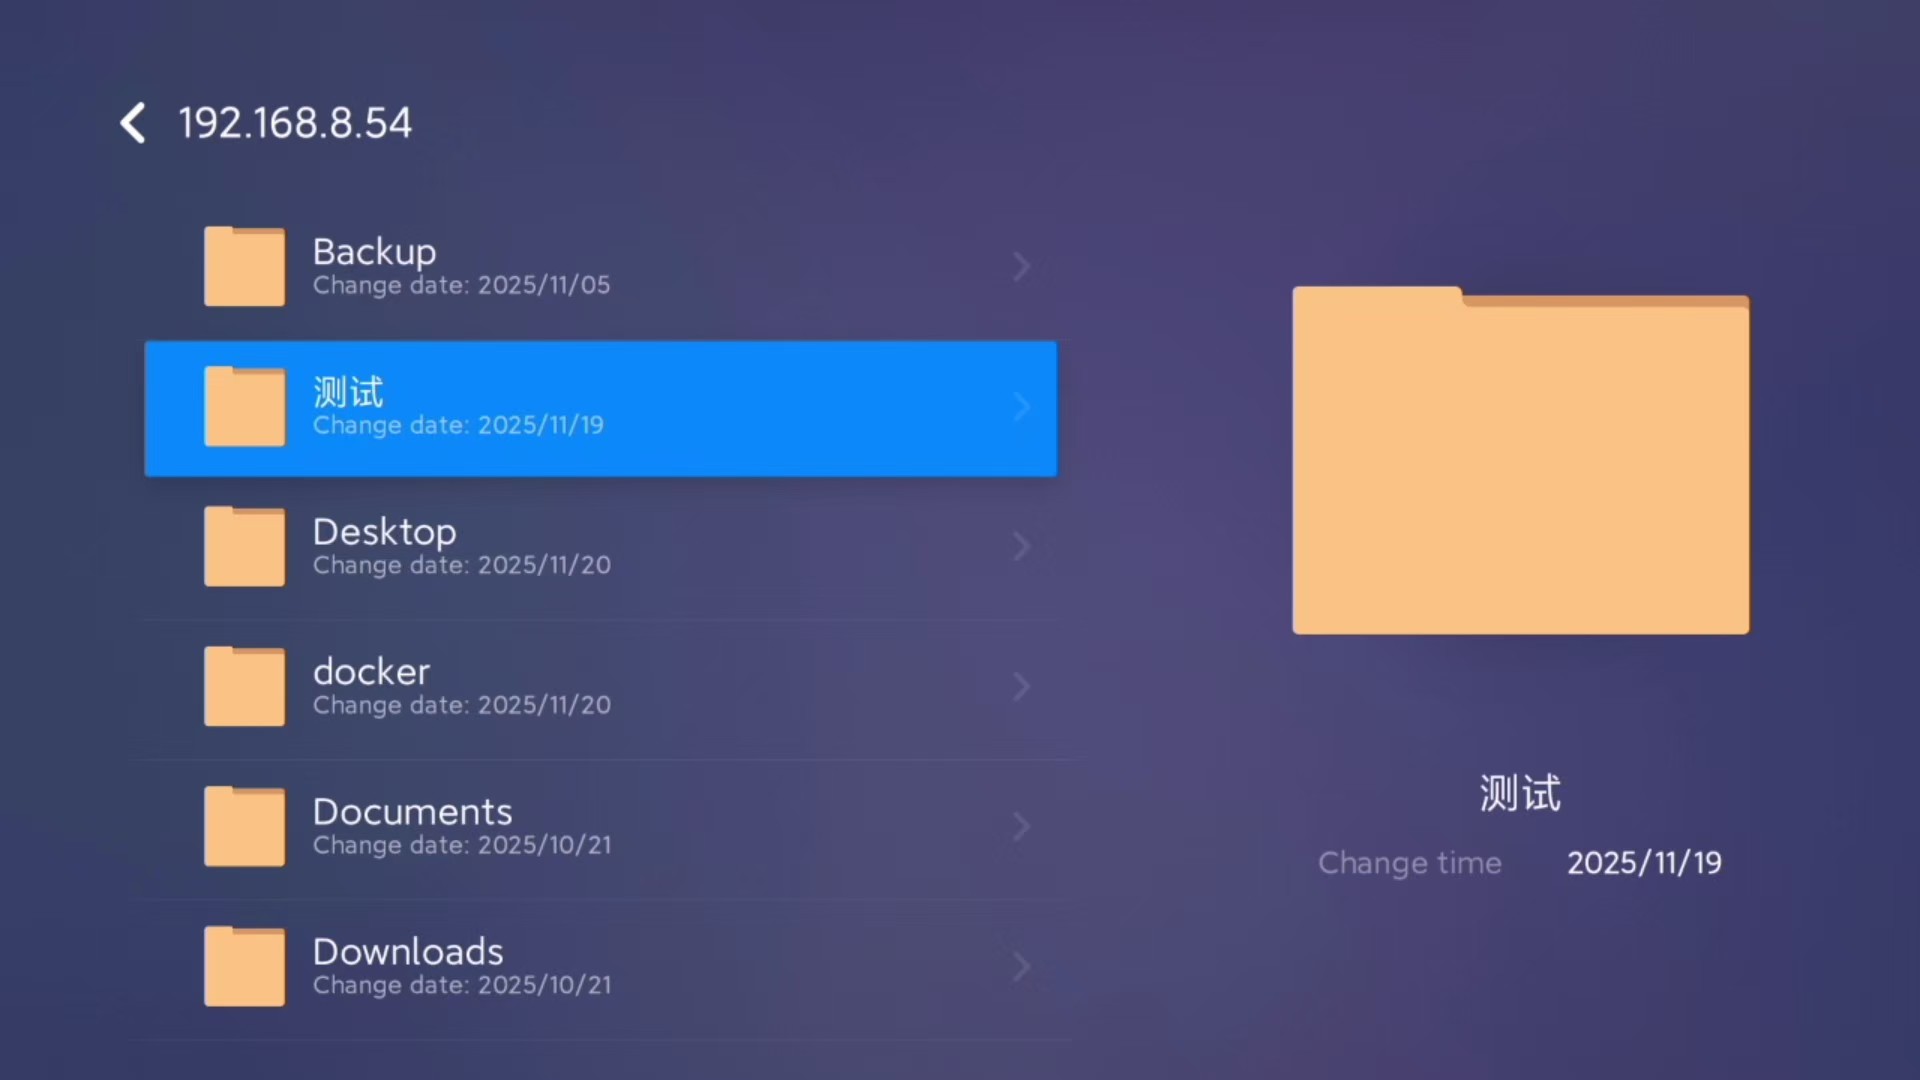


The DLNA feature allows you to build a home entertainment network, enabling electronic devices such as computers, phones, TVs, and set-top boxes to easily access photos, music, videos, and other resources.
Once this service is enabled, all devices and applications that support the DLNA protocol on the local network can discover the current device and access the multimedia files located in the DLNA scan paths.
(The following steps use accessing videos from the NAS device on a Xiaomi TV as an example.)
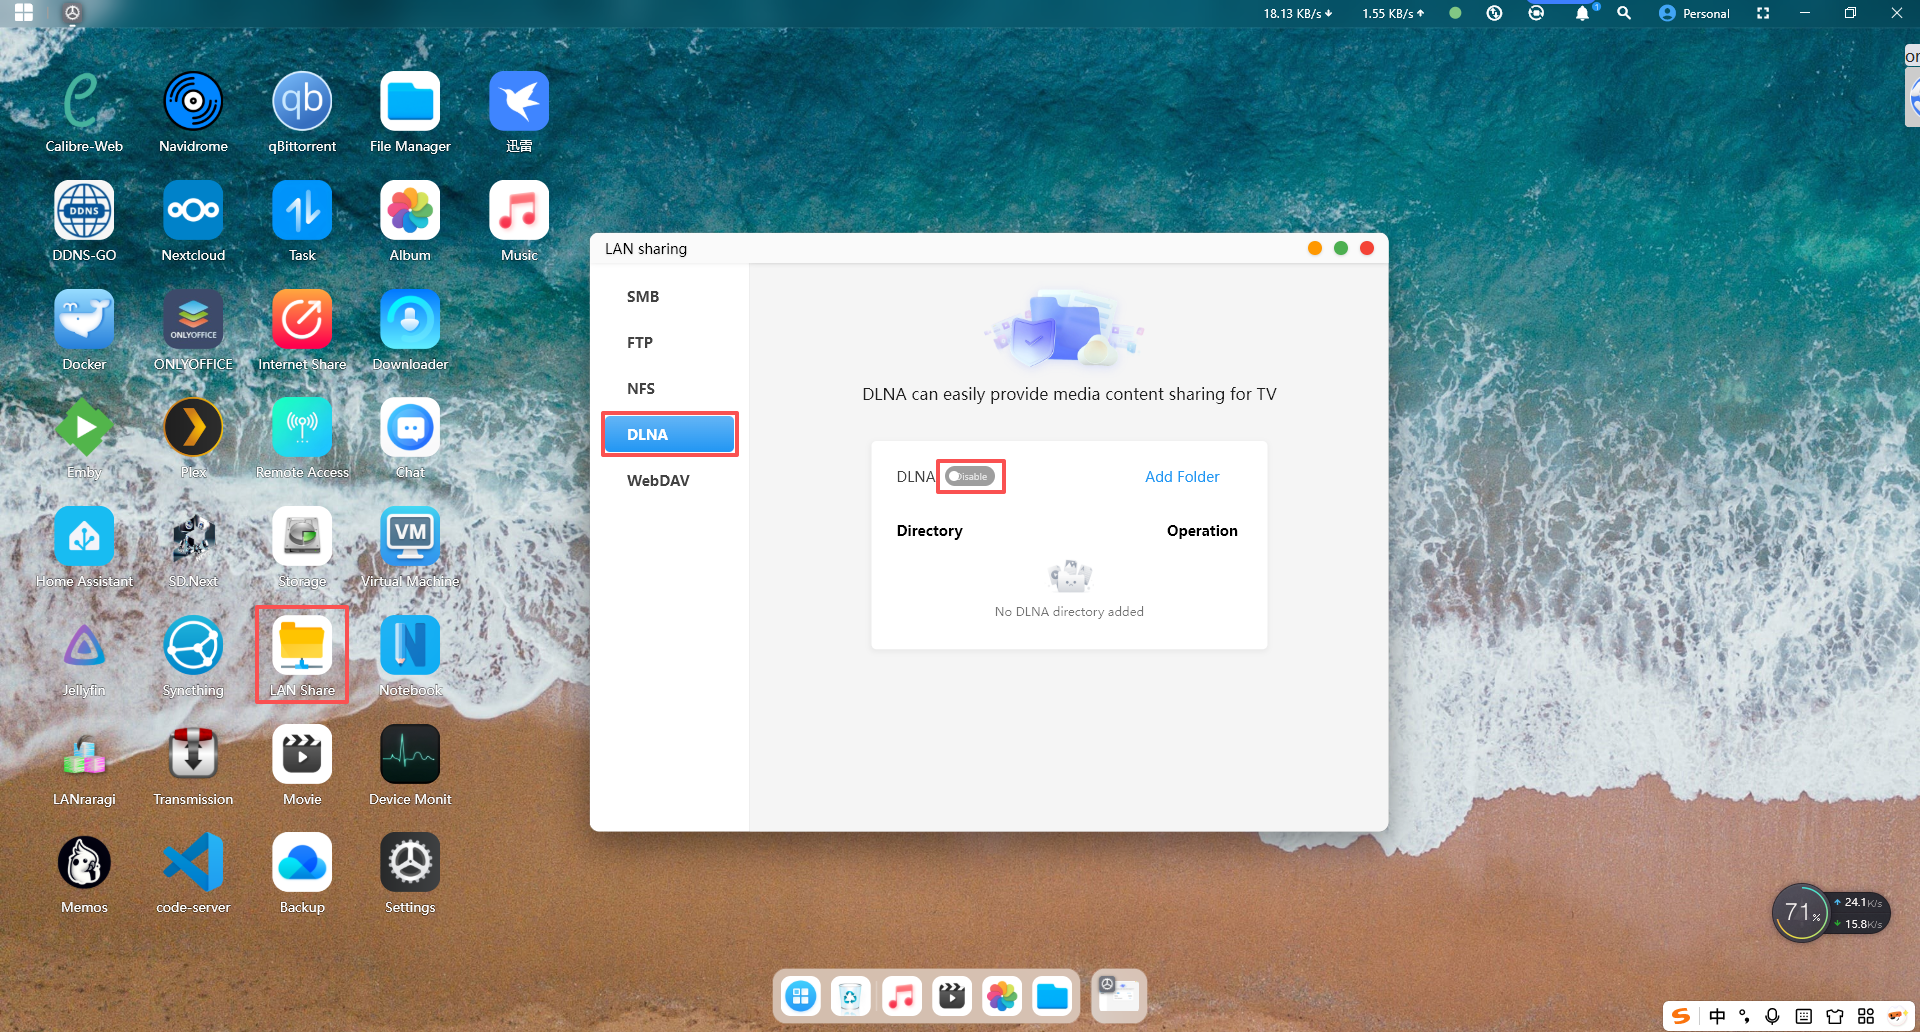
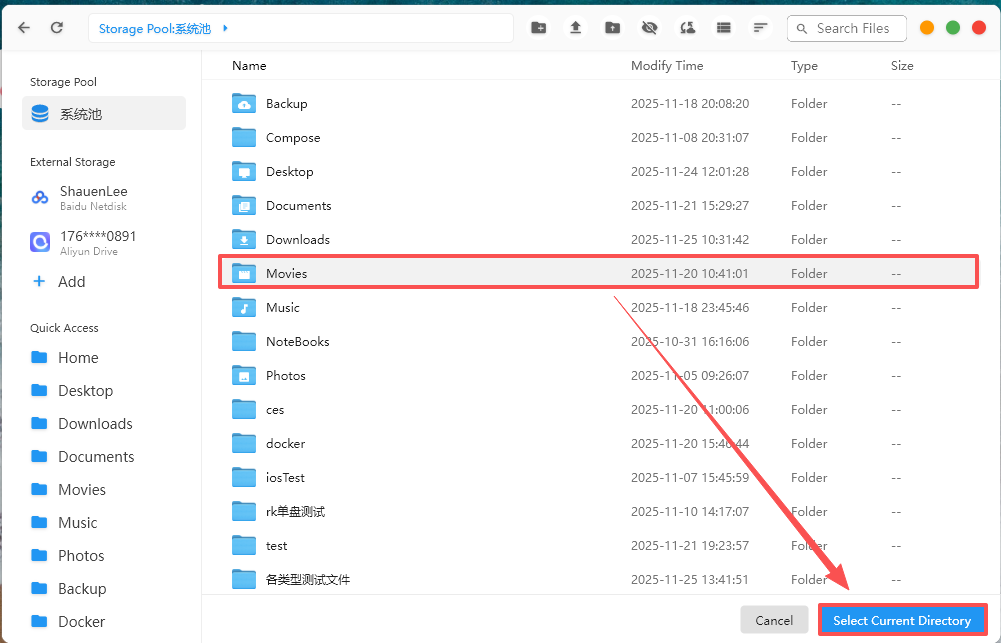
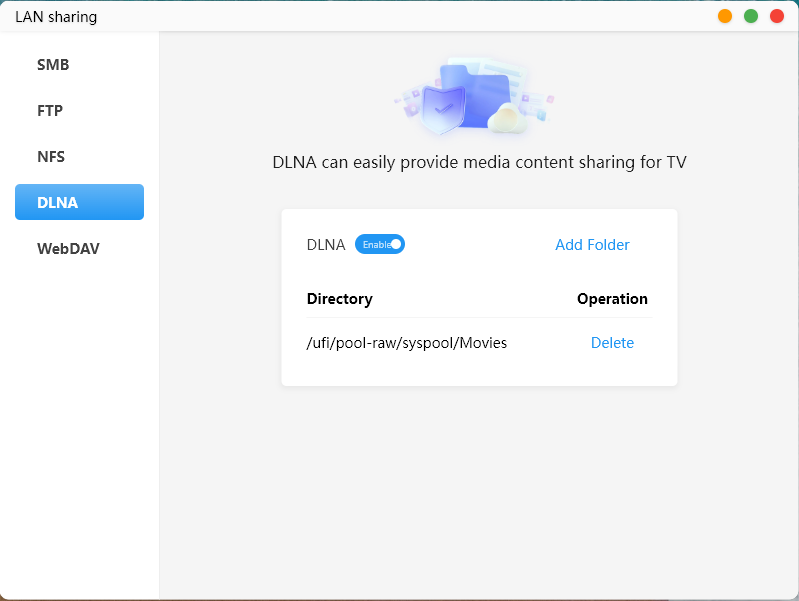
2.Click the toggle switch, and the directory selection for sharing will automatically pop up. Select movies -> Select Current Directory, and the setting will be successfully applied.
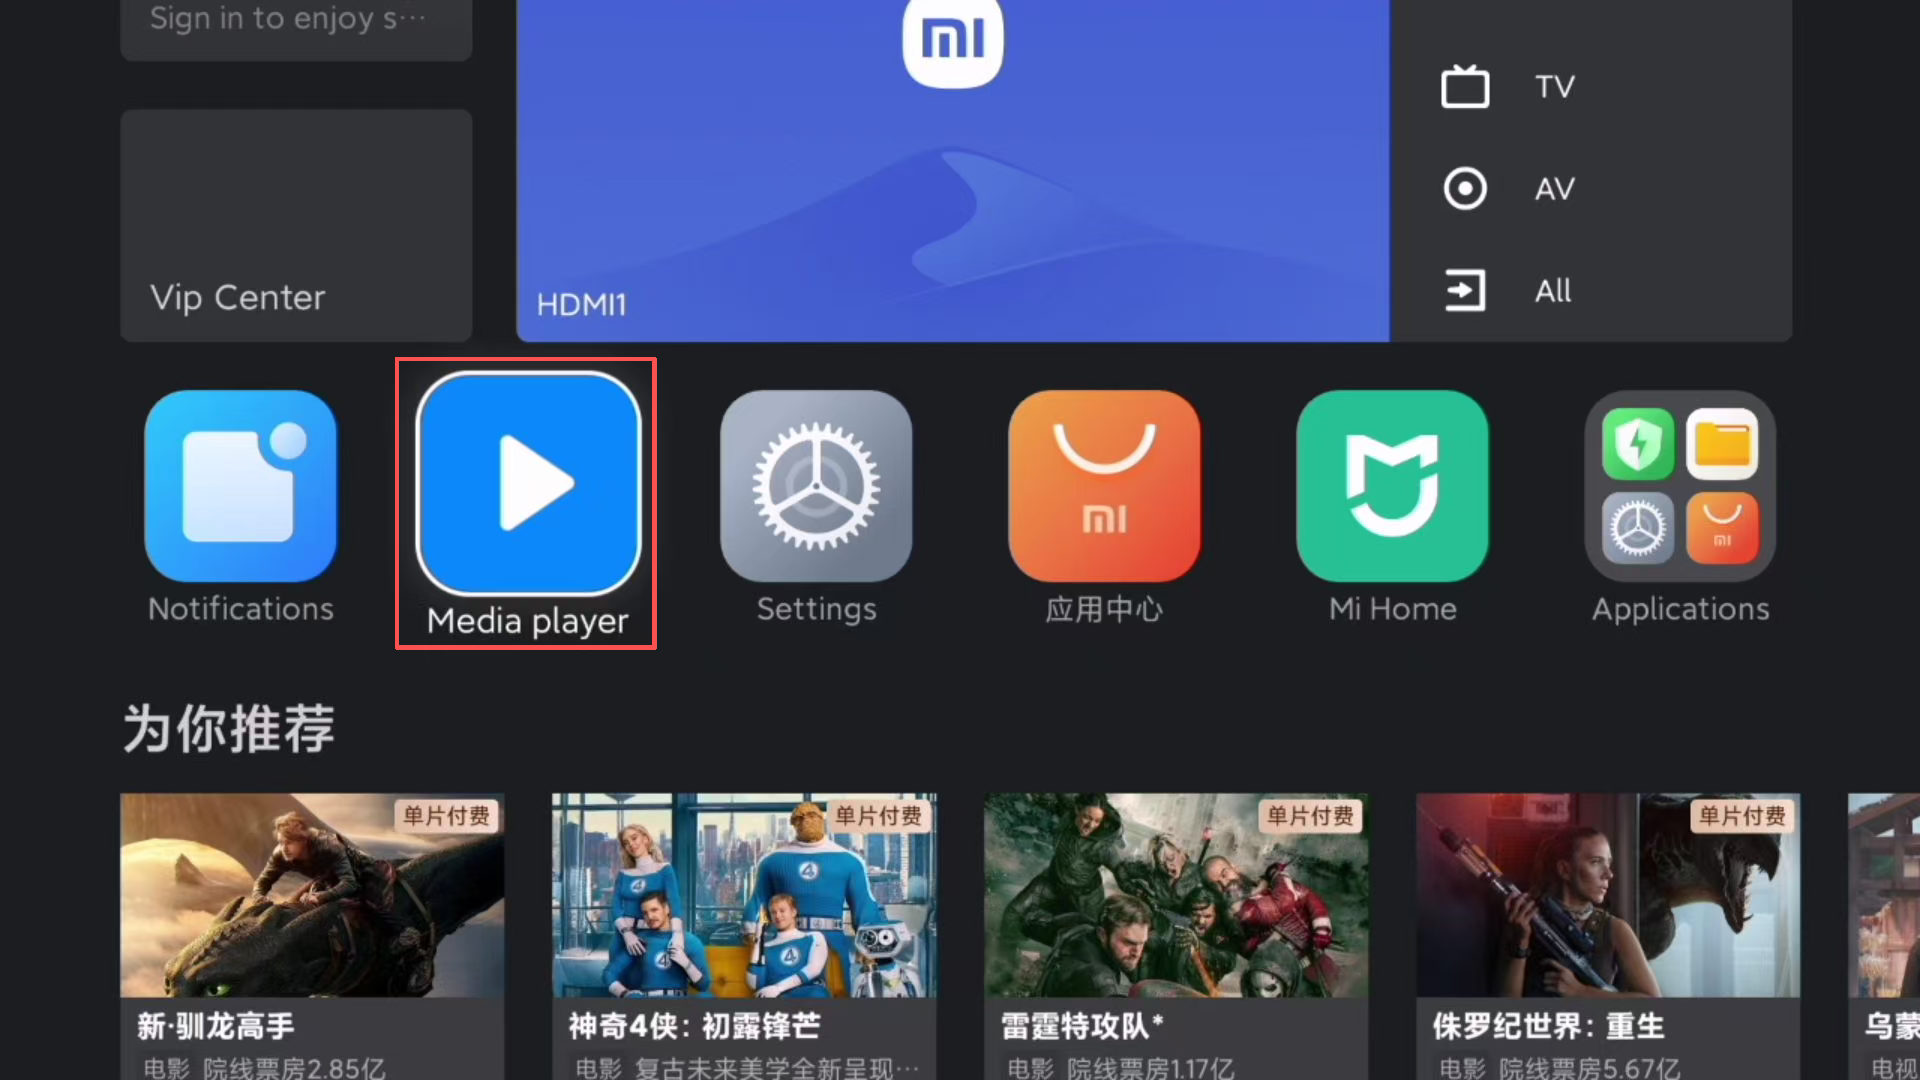
3.Turn on the TV that is on the same local network as the NAS device, and go to My Apps -> Media Player (or High-Definition Player).
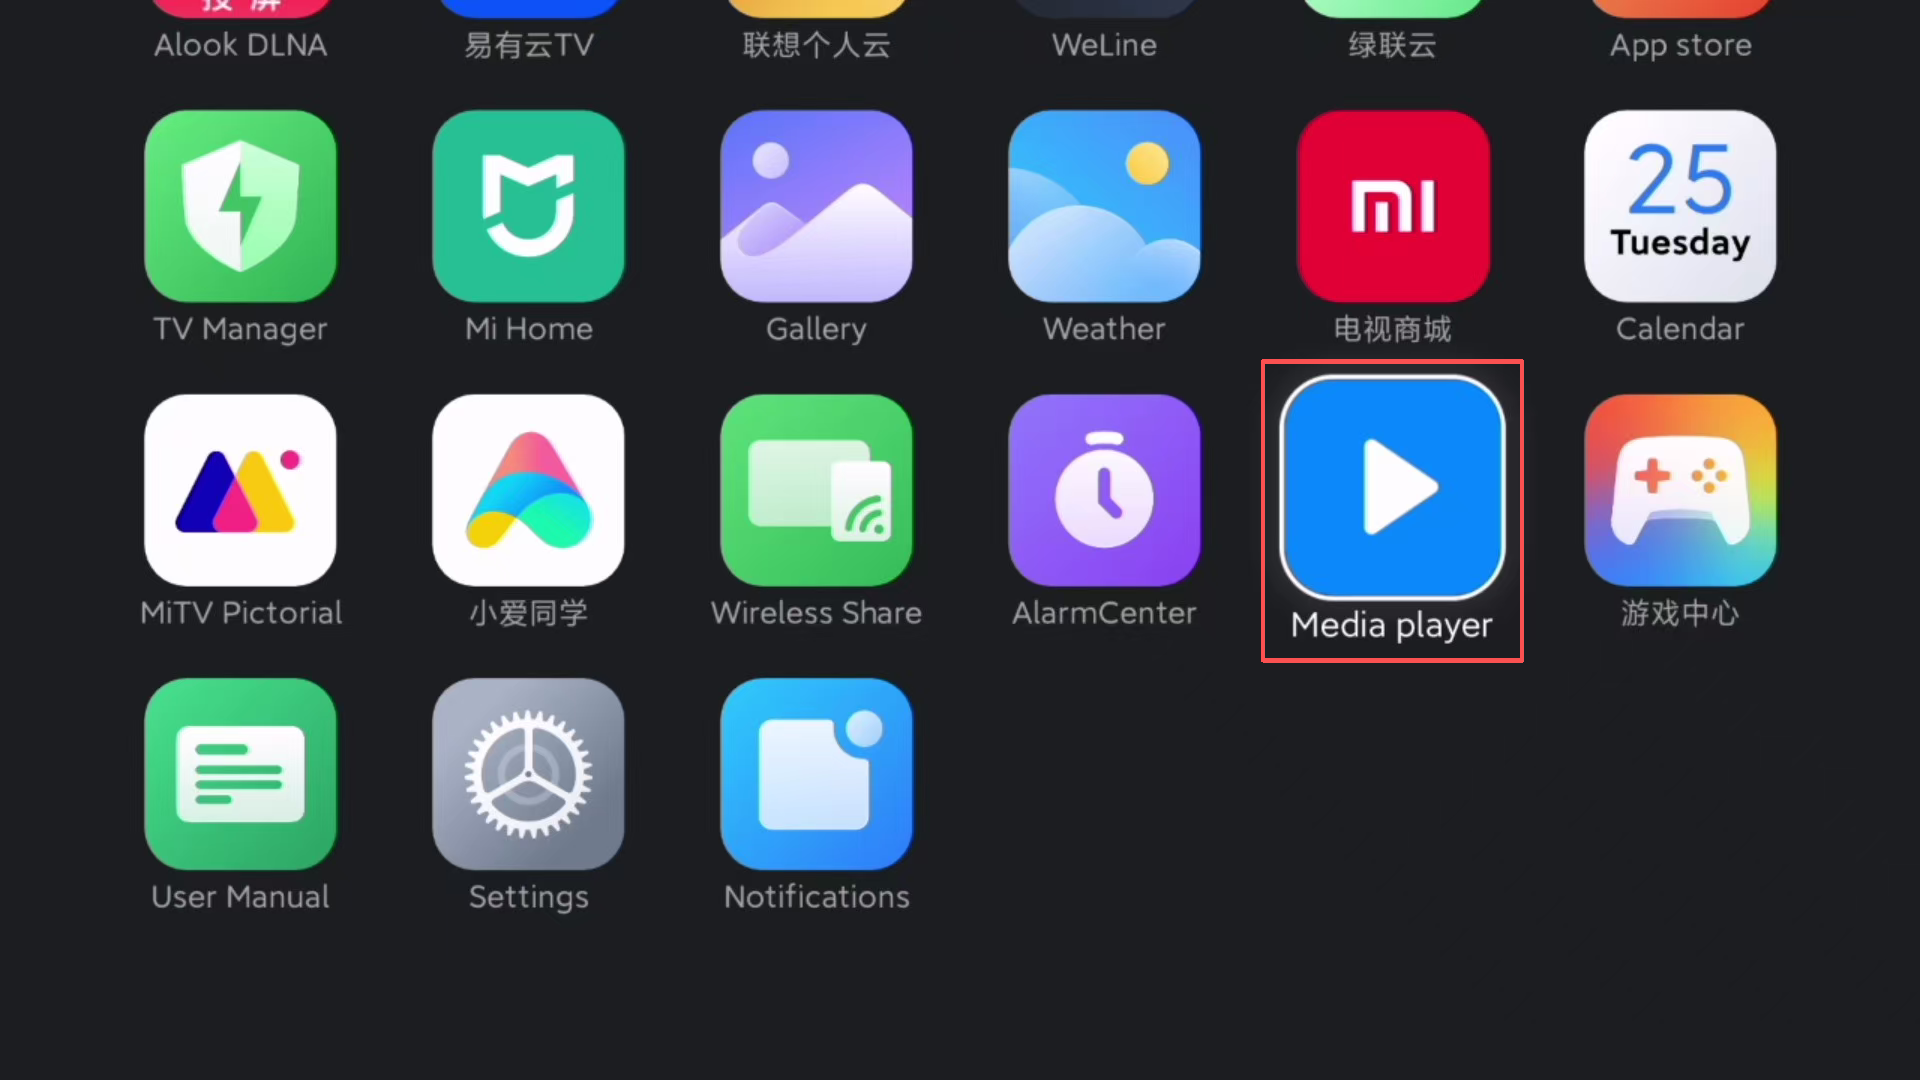
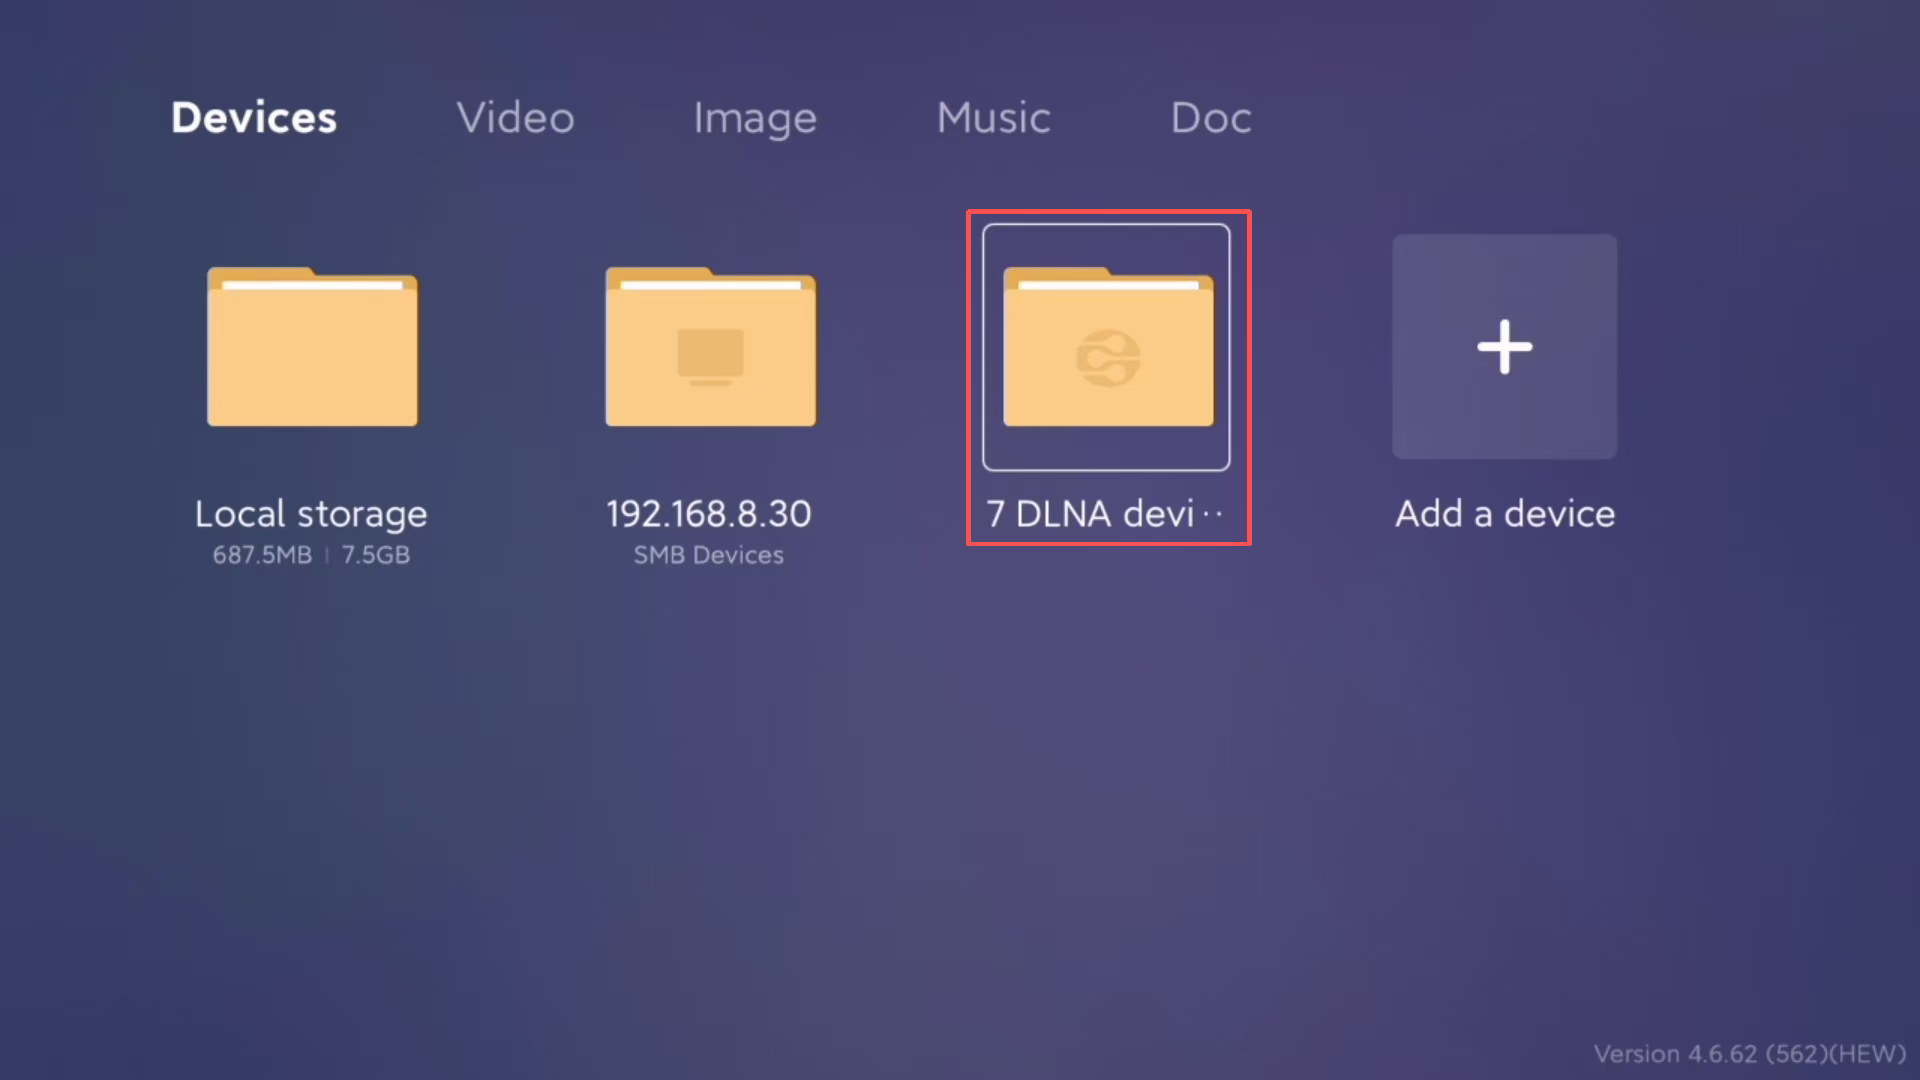
4.If the TV is on the same local network as the NAS device, entering the TV's built-in HD player will automatically detect and display the NAS on the page.
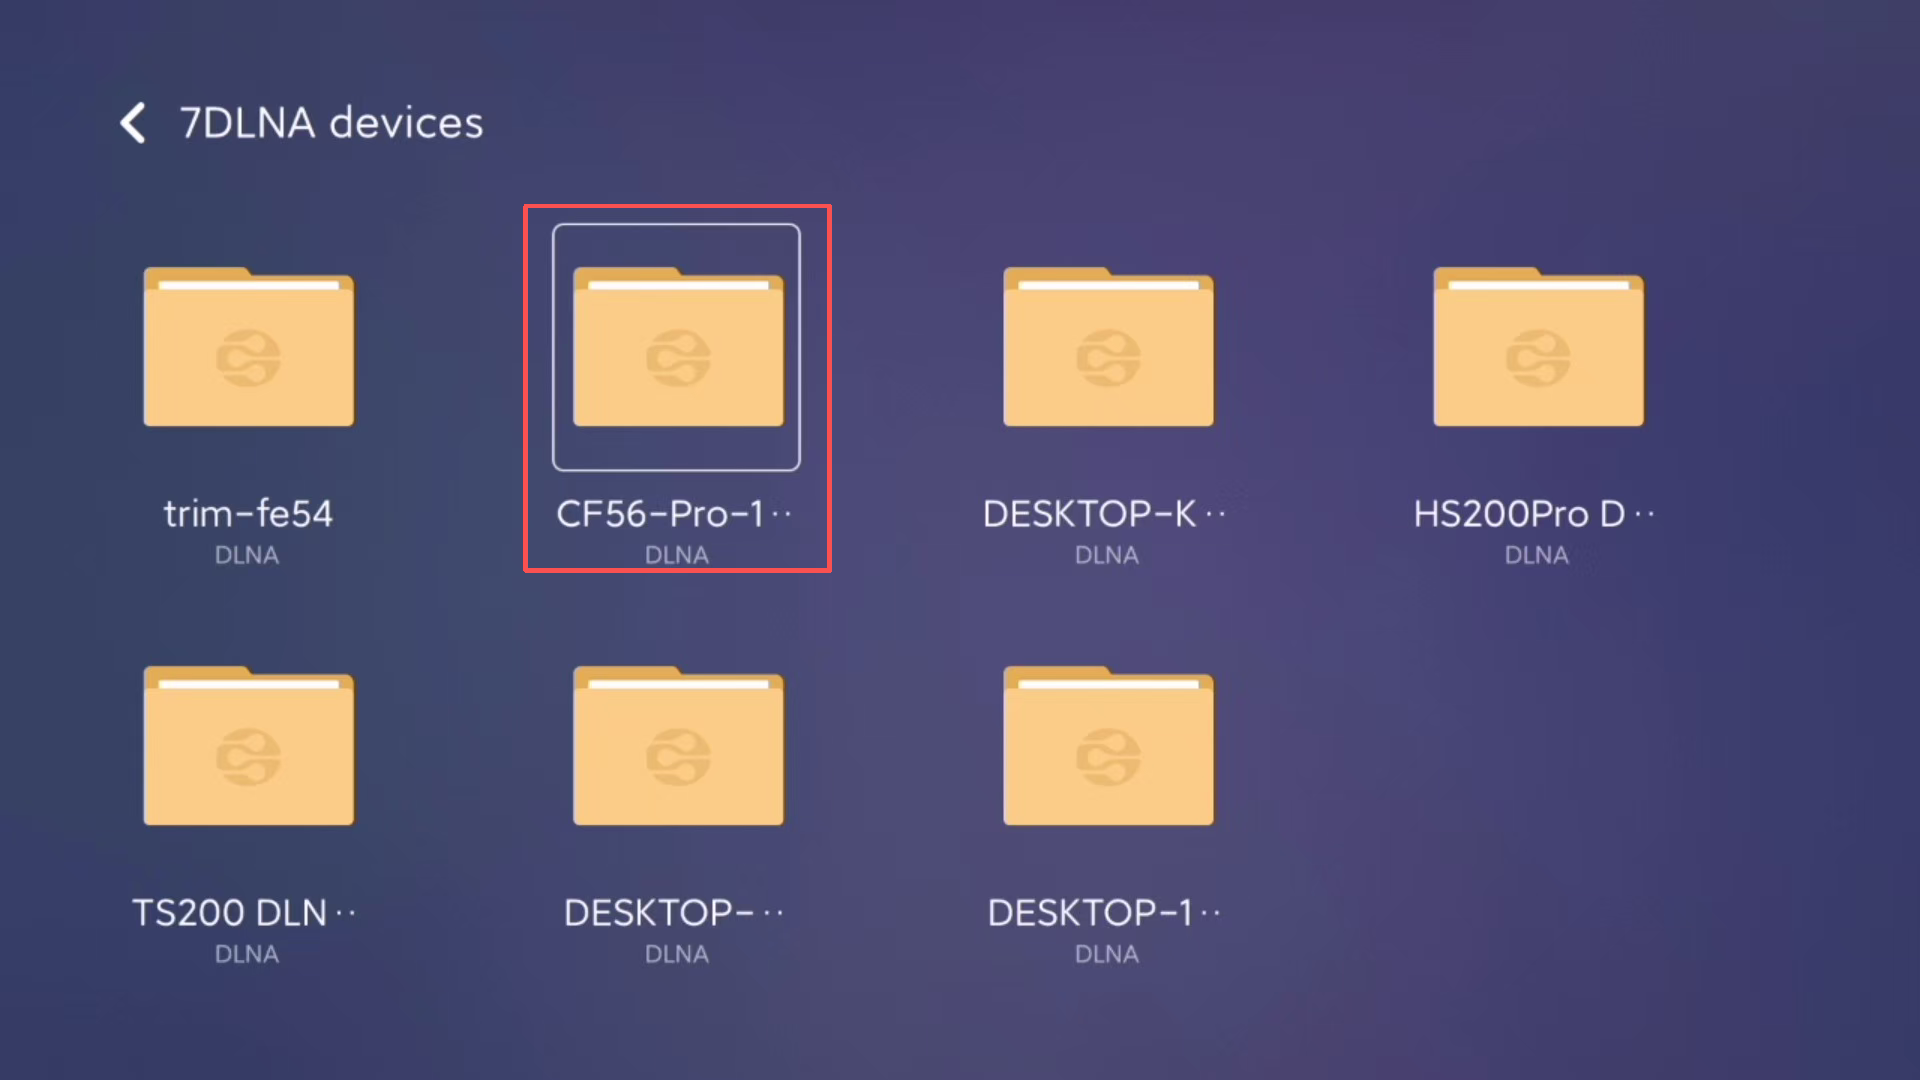
5.Click DLNA Devices, find the NAS device you want to access, and click to enter the directory page. You can then access the audio and video files stored in the ORICO private cloud via DLNA on your TV.
6.Select Browse Folders to browse folders or Video folder, choose the video or movie you want to watch, and press the confirm button to start watching the movie from the NAS.
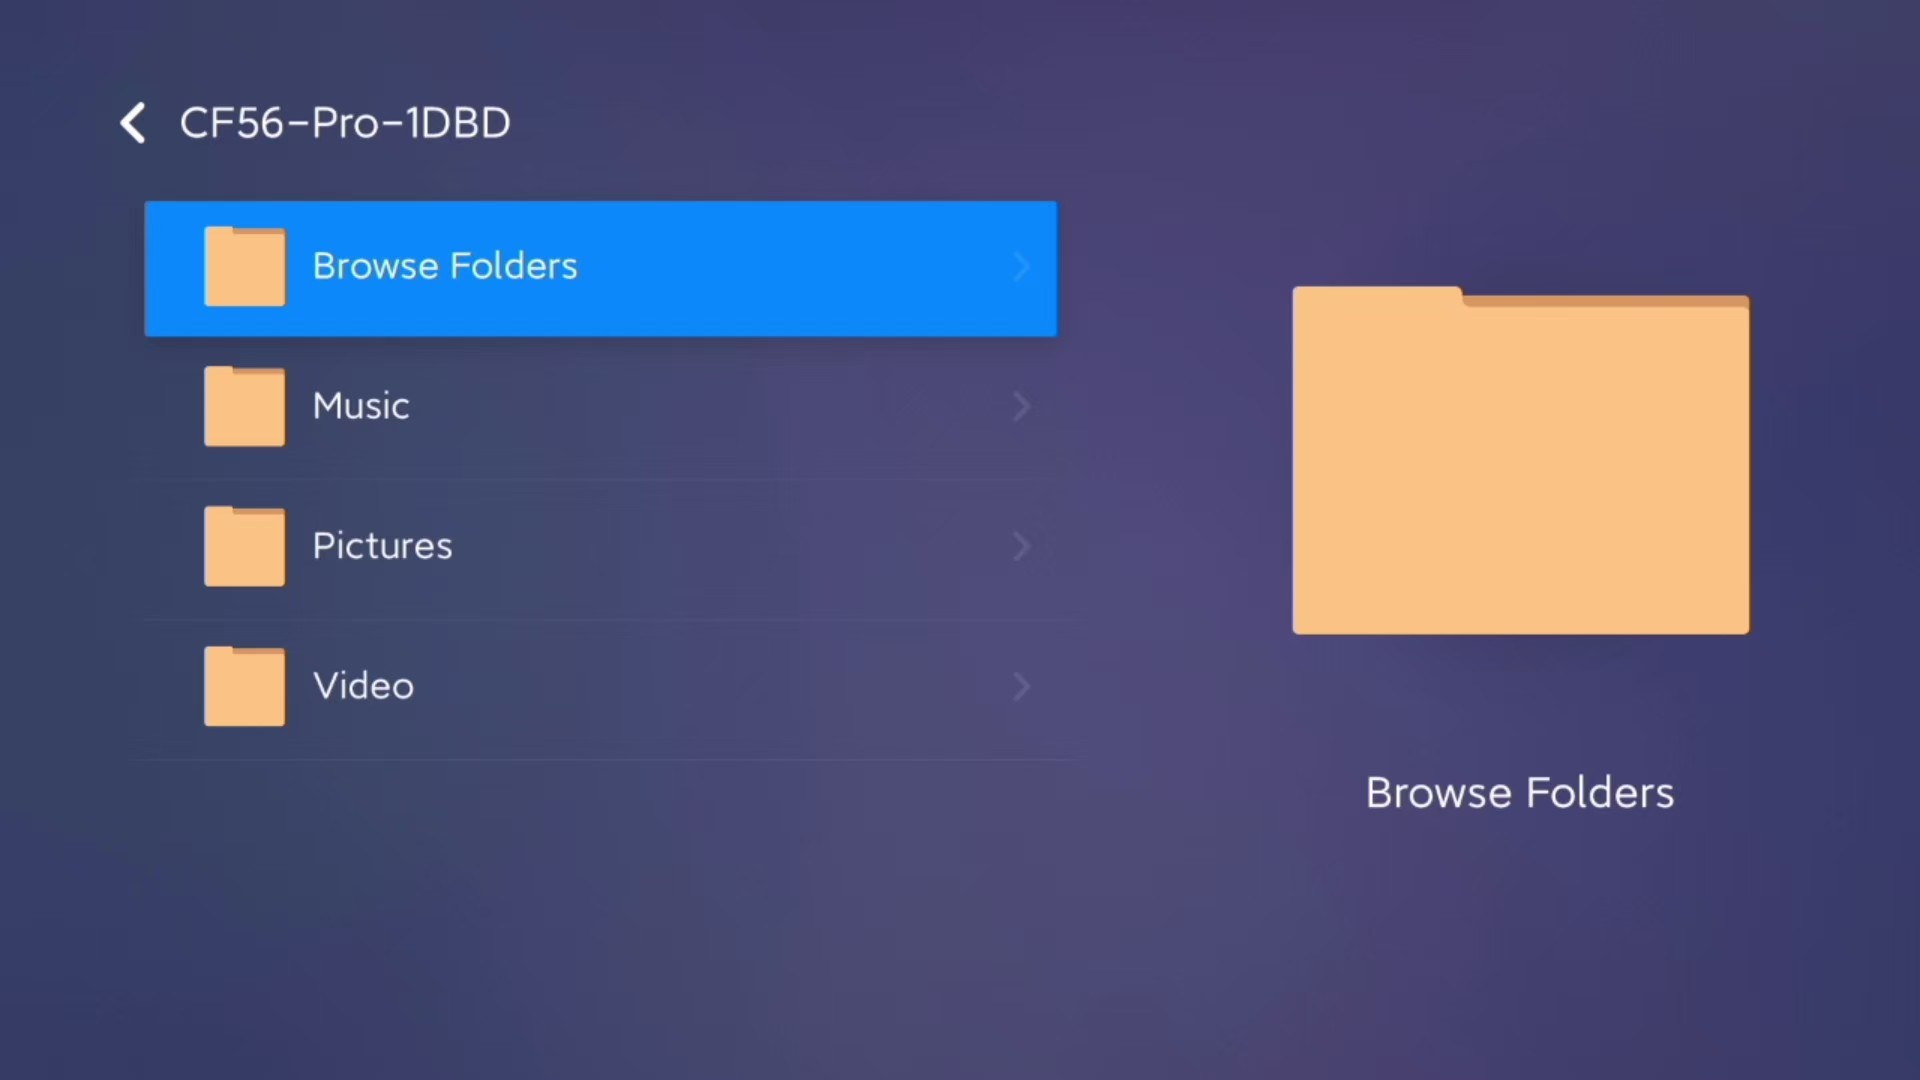
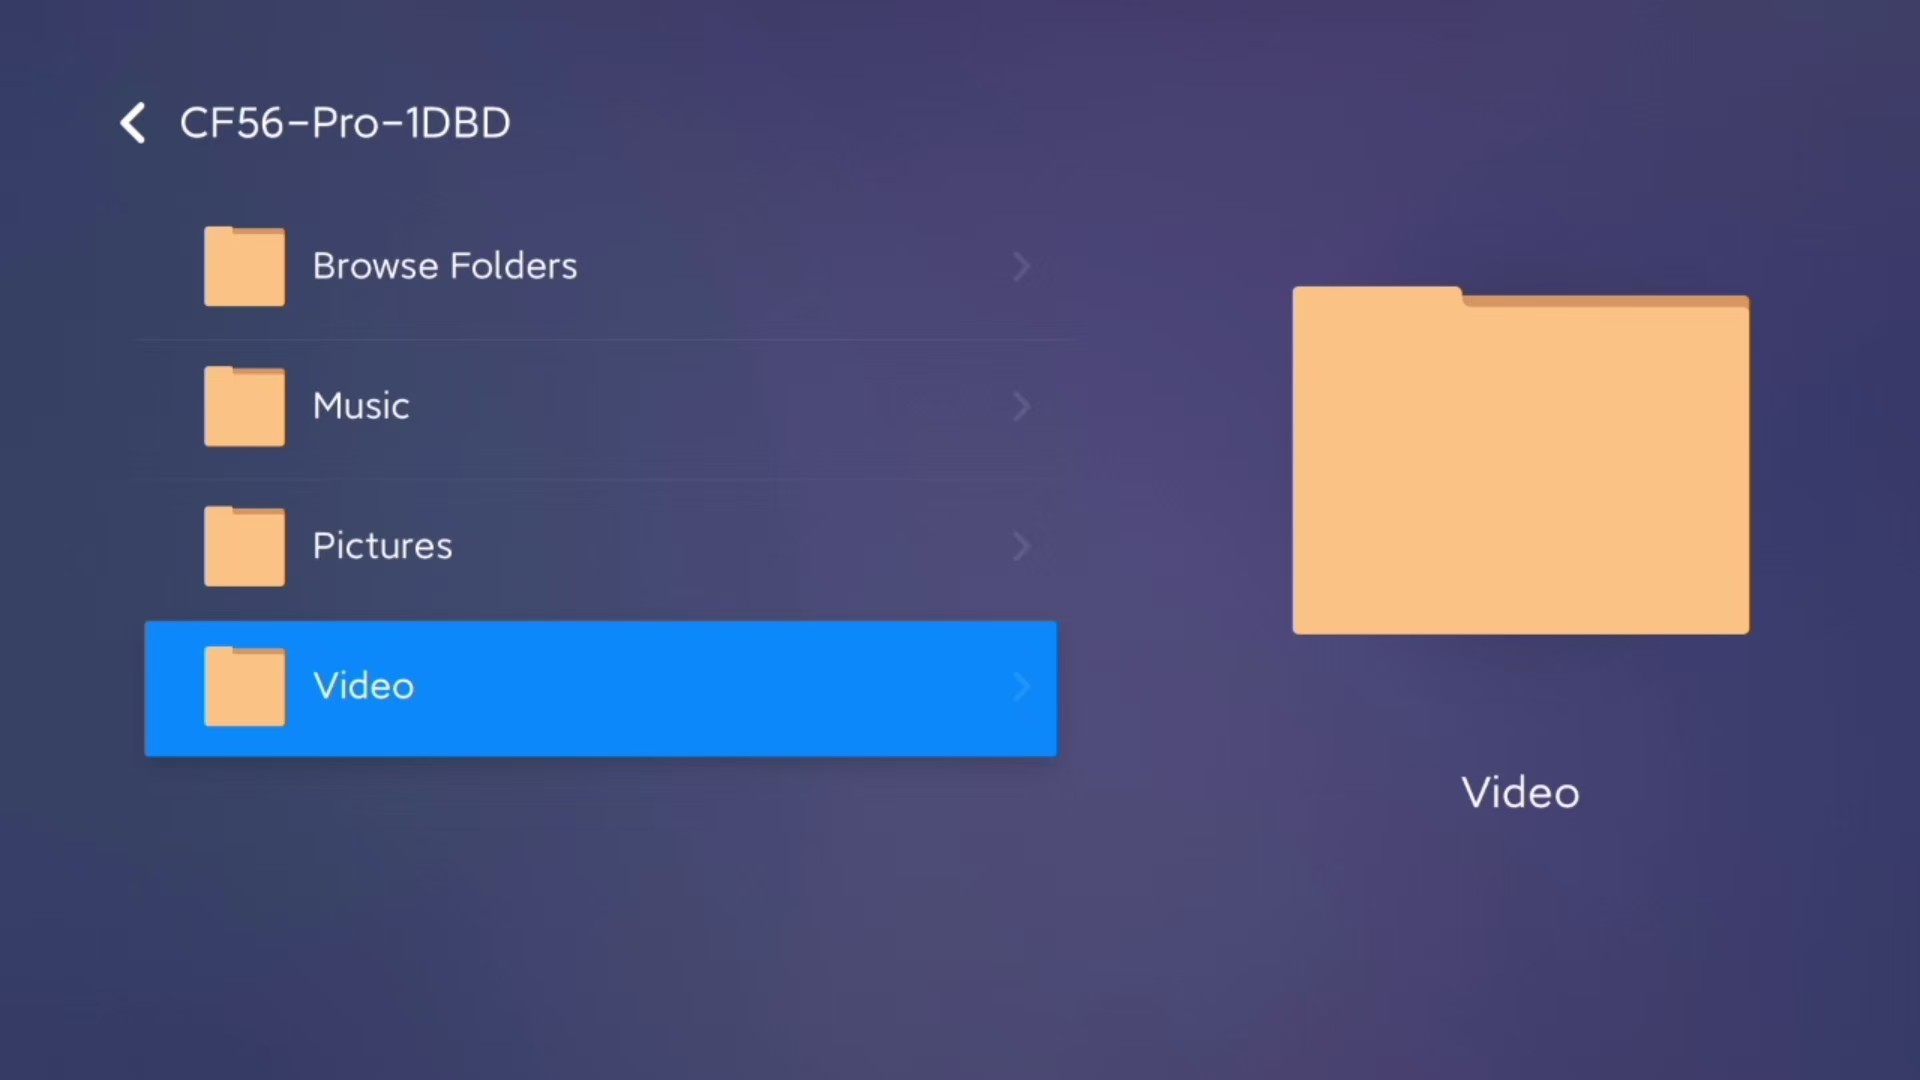
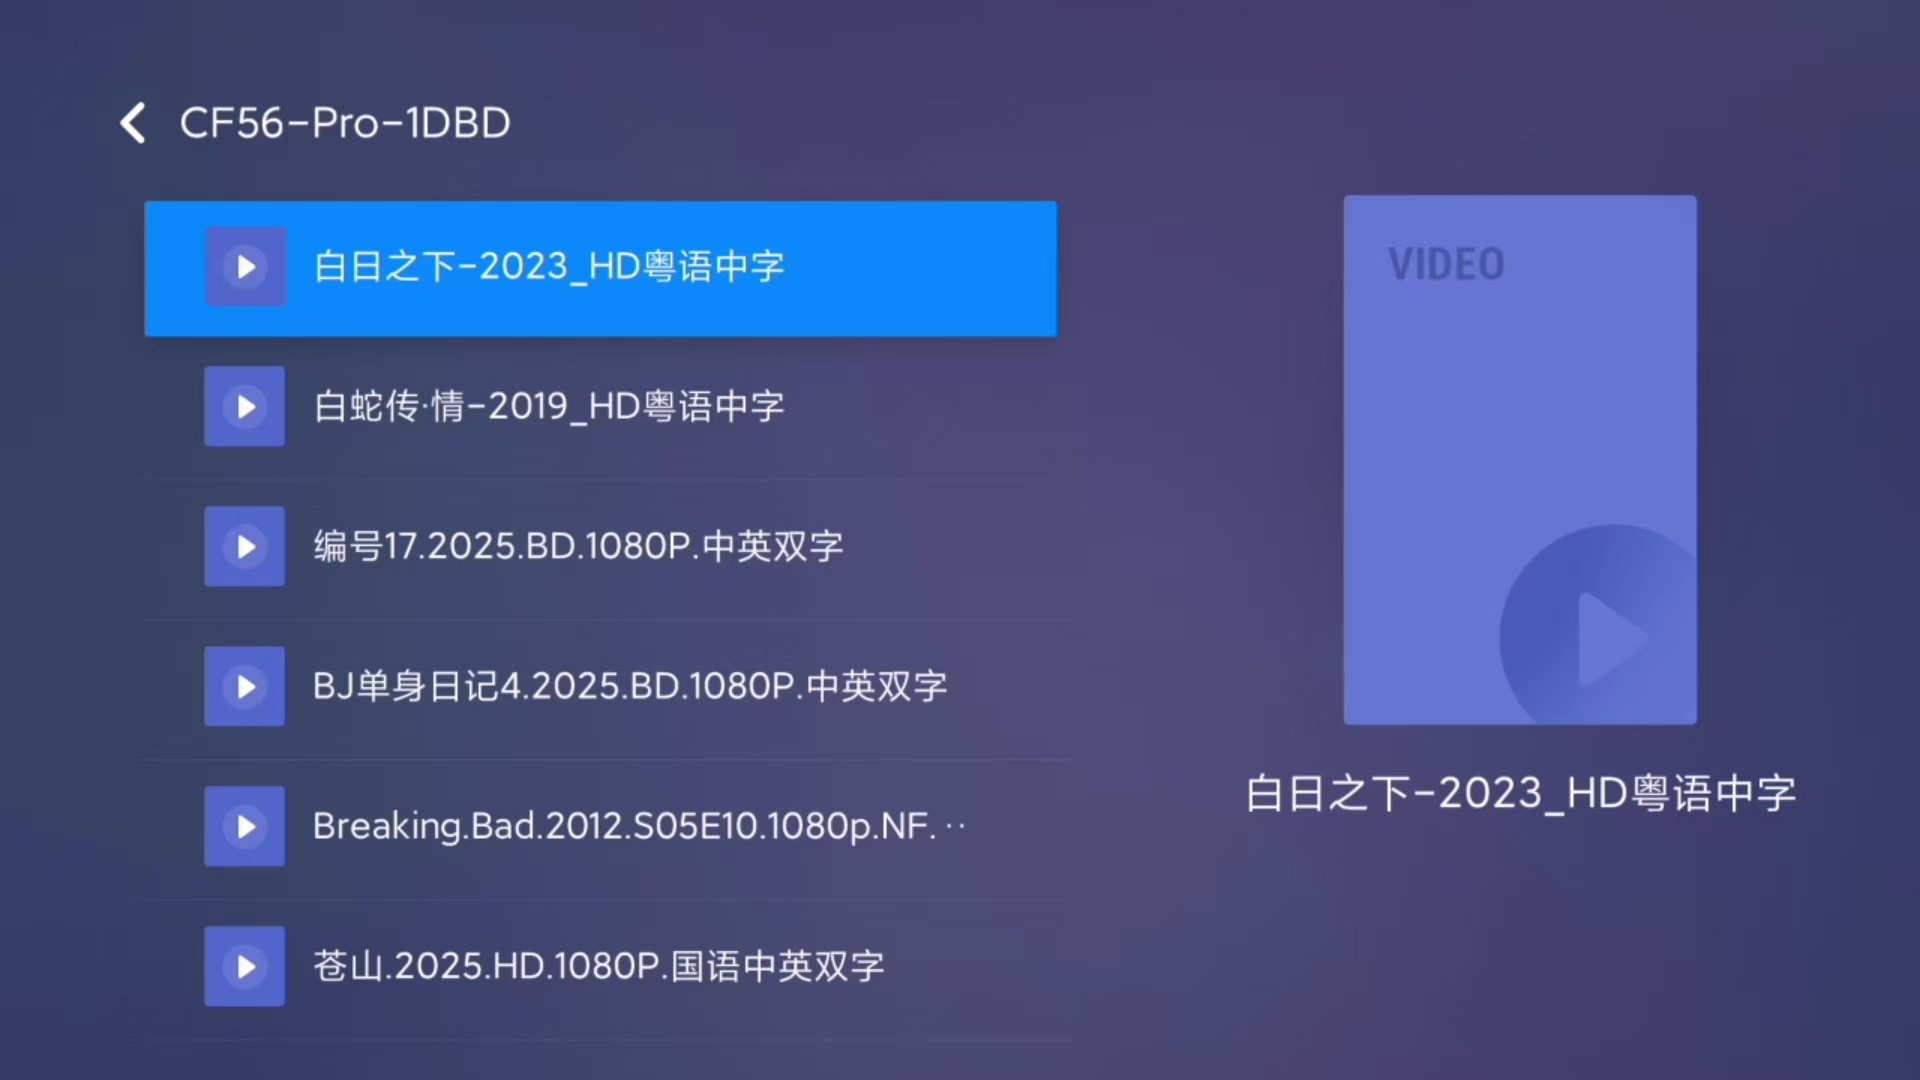
(The following steps use accessing movies from the NAS device on a Xiaomi TV as an example.)
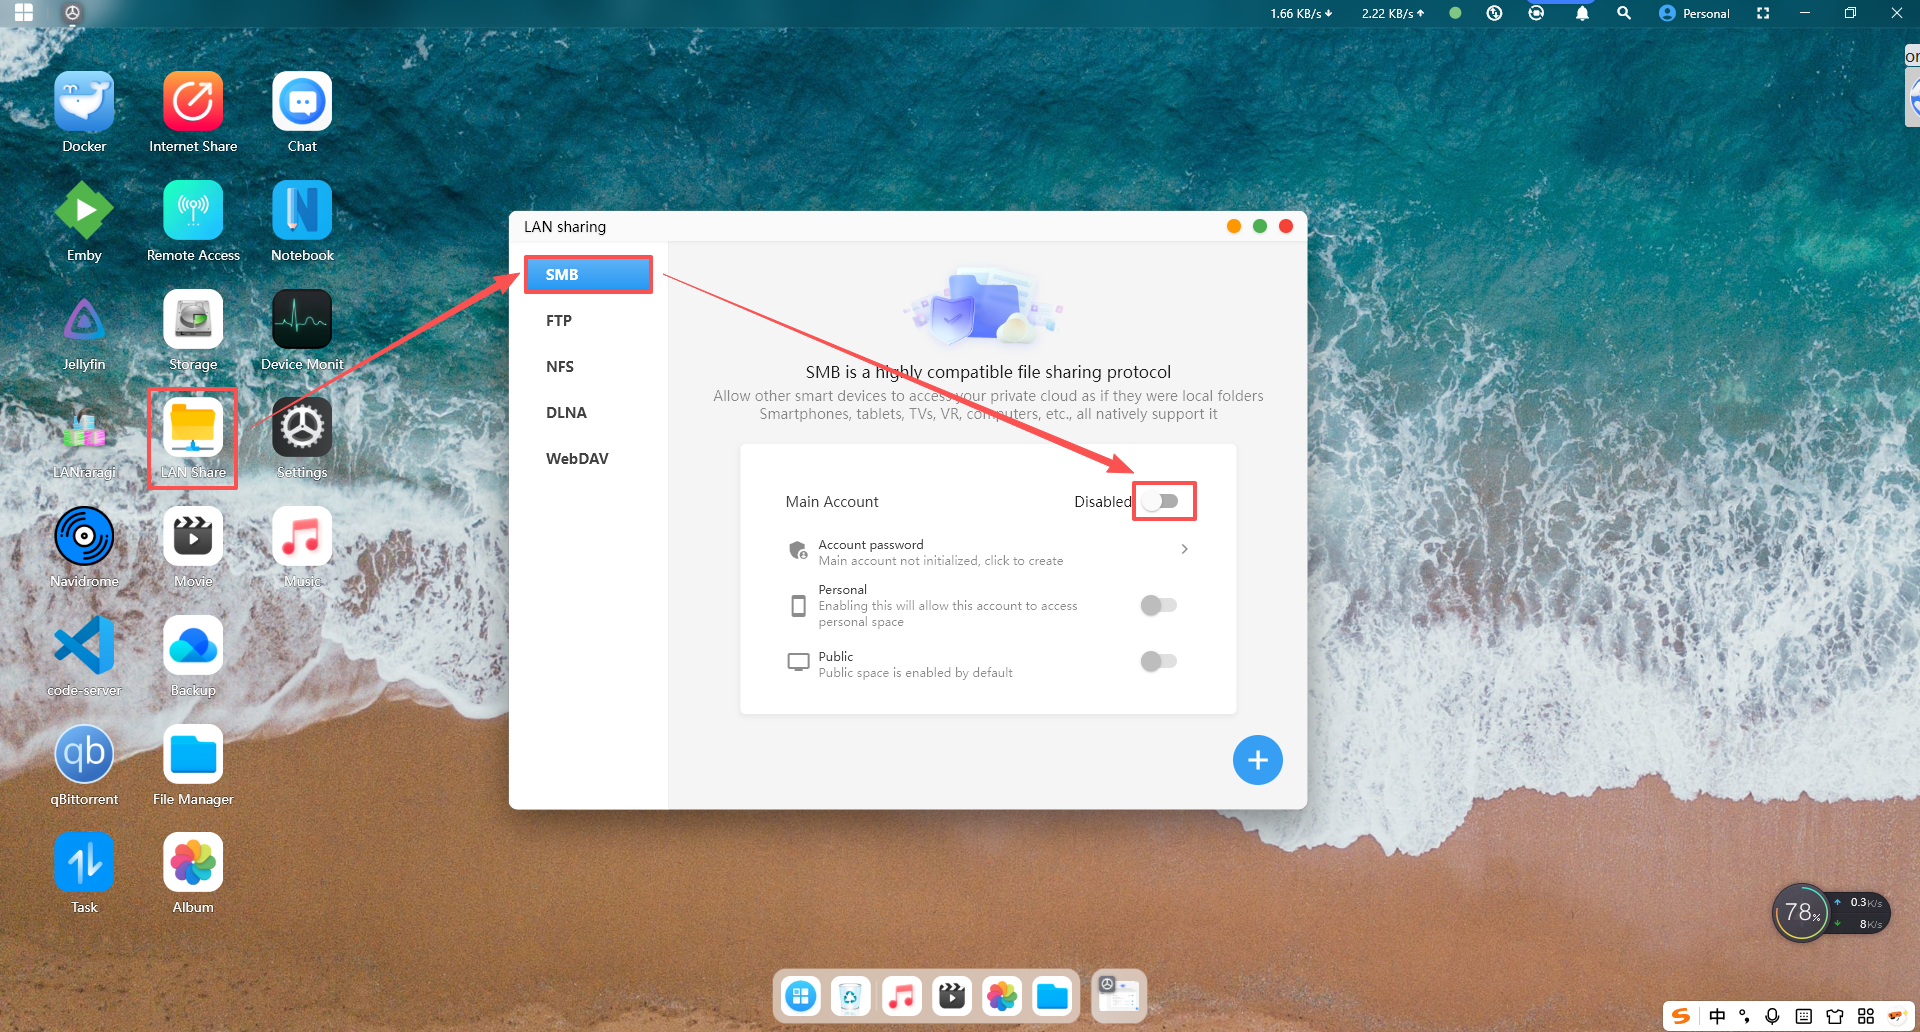
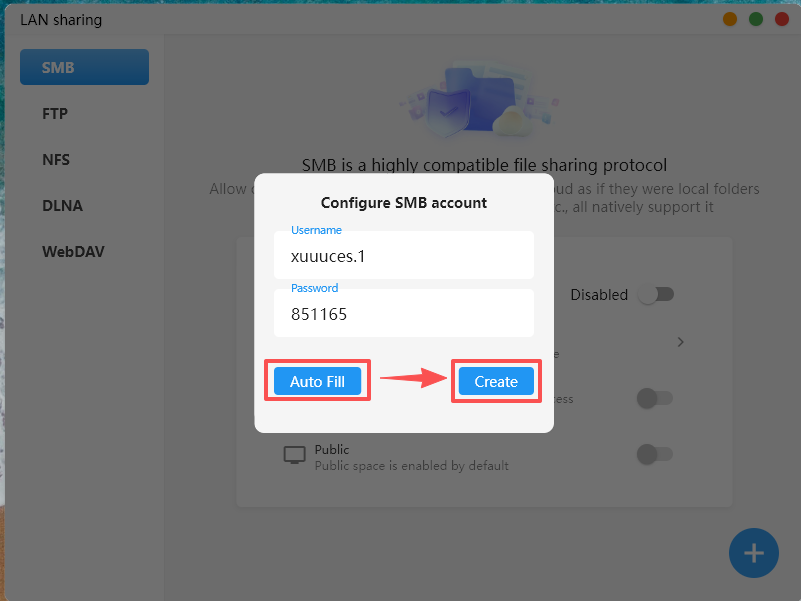
2.In the pop-up window, you can click "Auto Generate" in the lower-left corner to create an account based on the username, or you can set it manually. Then click "Create Account" in the lower-right corner to complete the account creation.
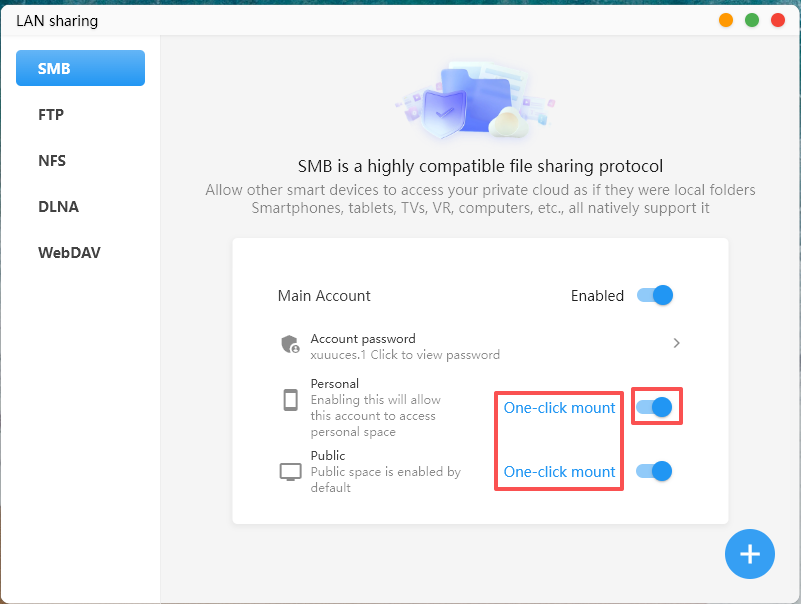
3.After the account is created, access to the main account and public space is automatically enabled by default, while access to the private space needs to be manually enabled. At the same time, you can click "One-Click Mount" to mount the storage path to your computer.
4.Turn on the TV that is on the same local network as the NAS device, and go to My Apps -> HD Player (or High-Definition Player).
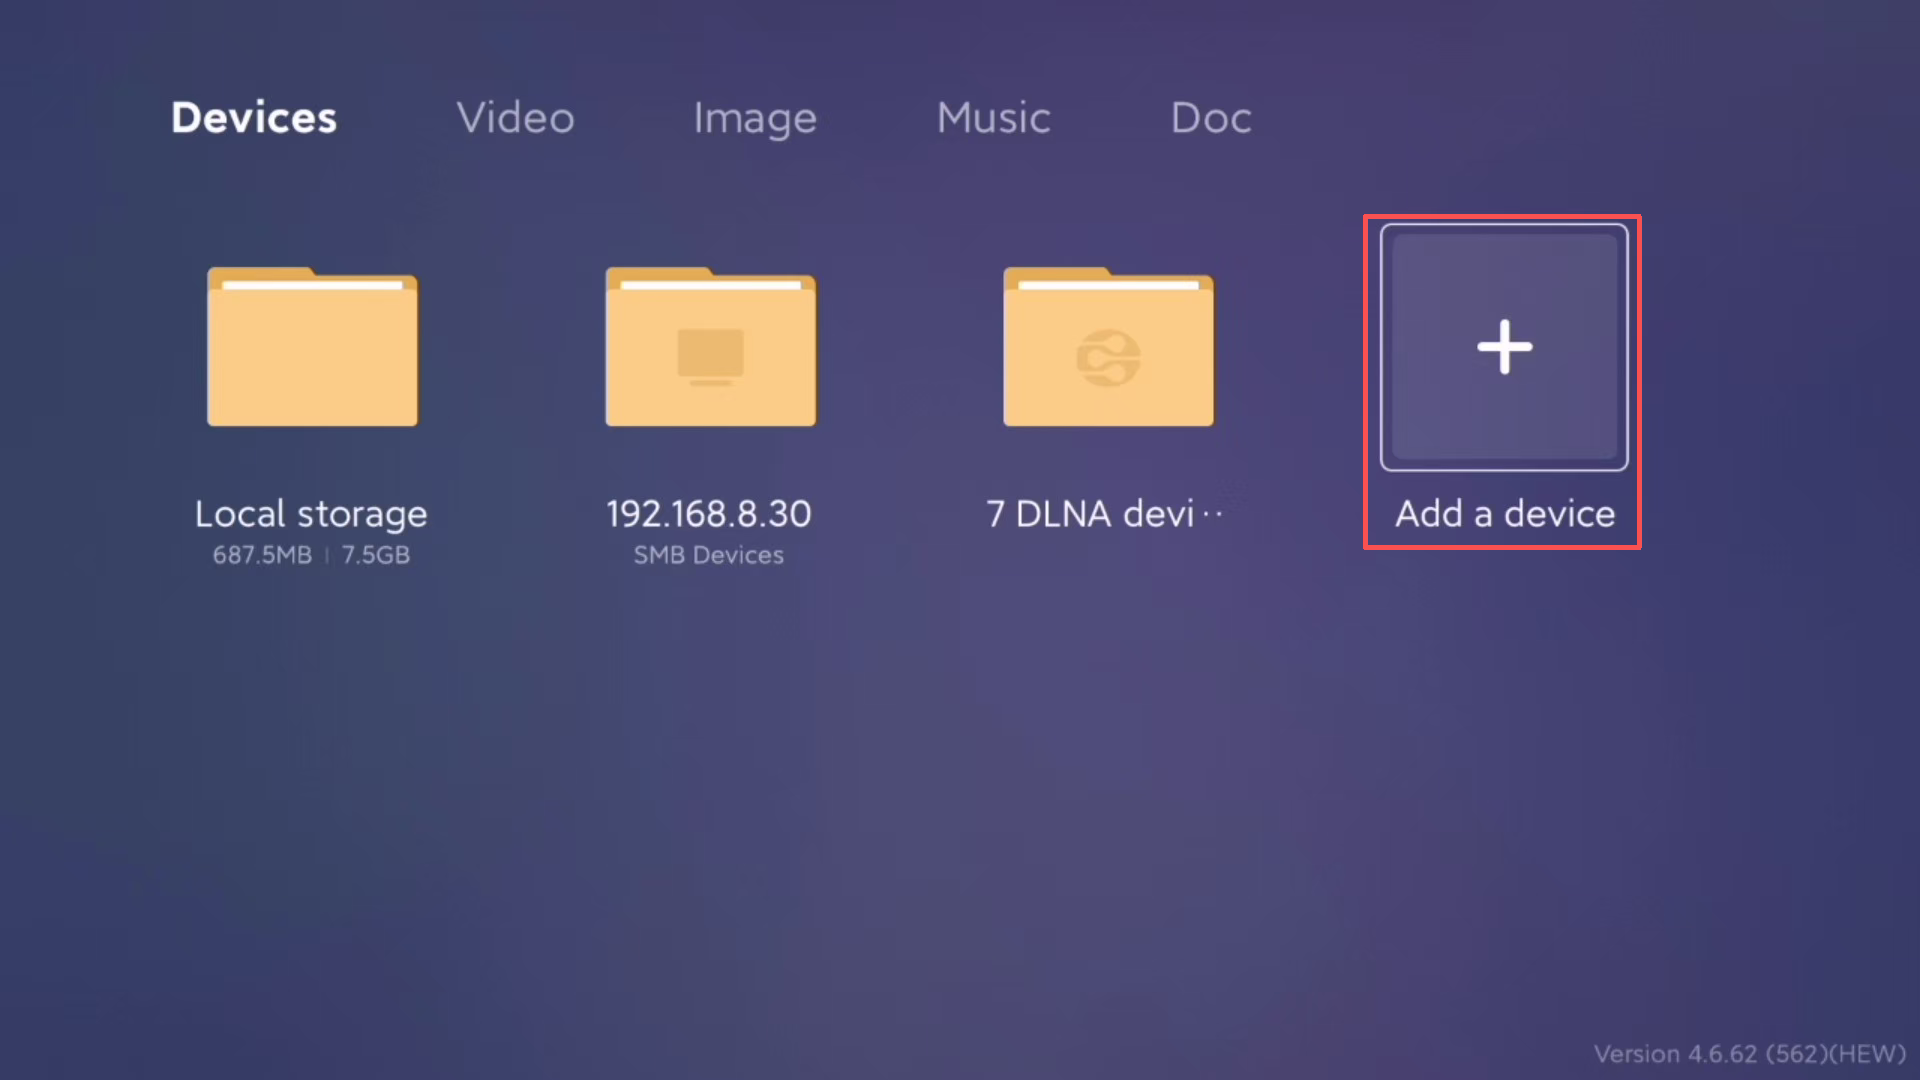
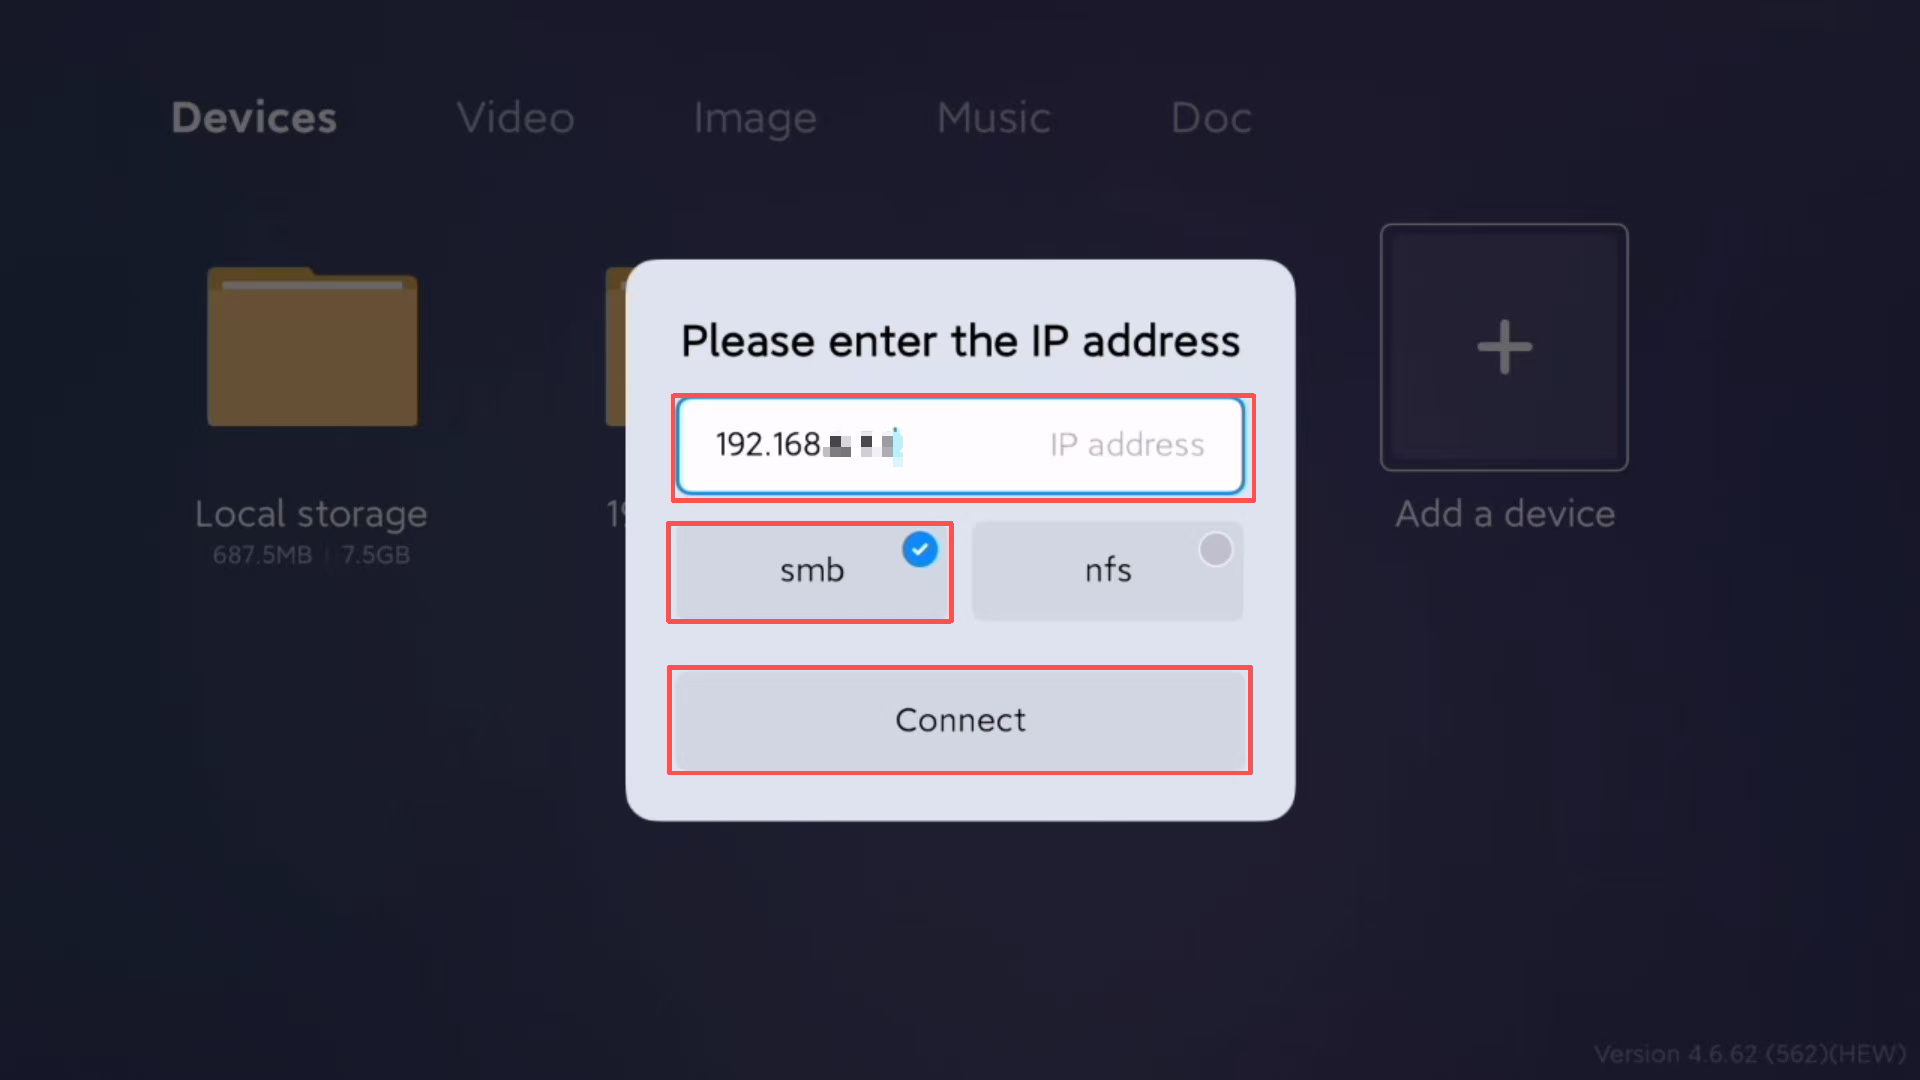
5.Click "Add Device", enter the LAN IP address of the NAS device (the NAS IP address can be found in Cyber Cloud app -> Settings -> Network Management -> Network Adapter), select "SMB", and then click "Connect".
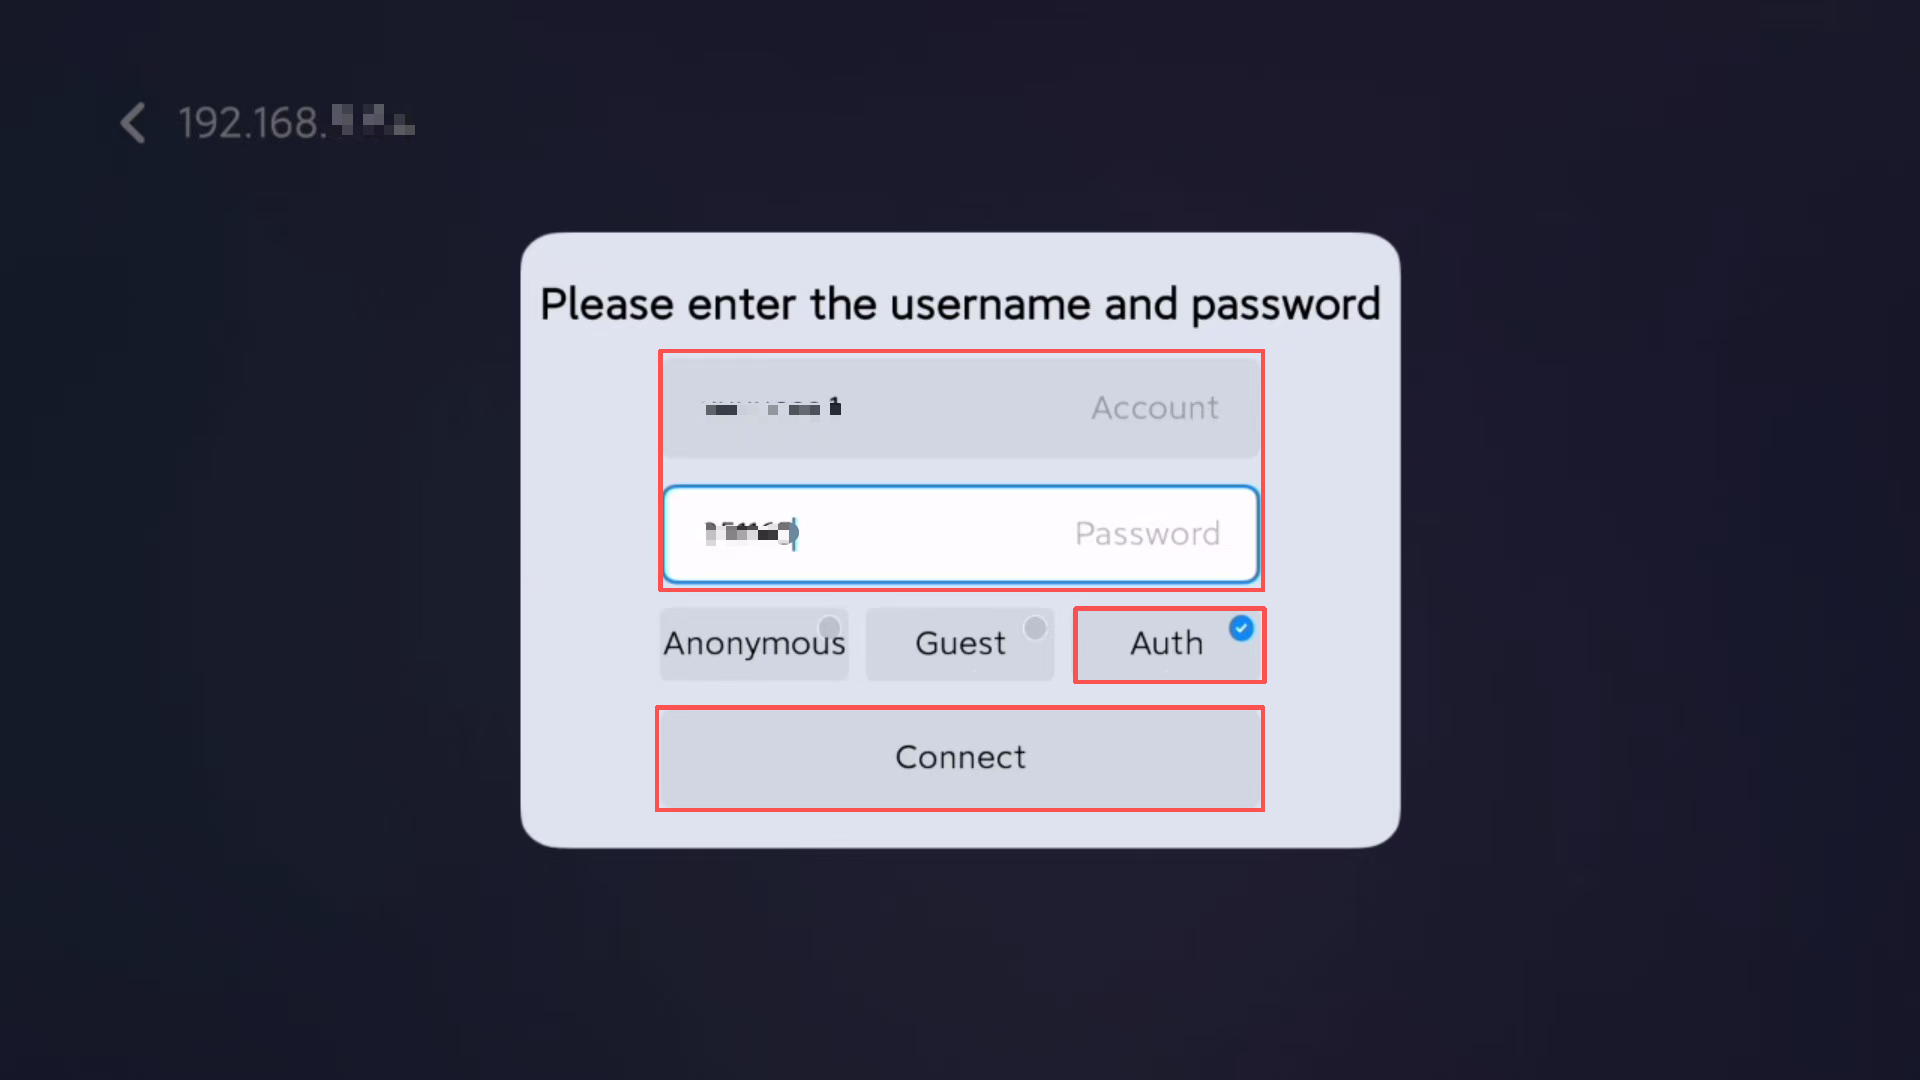
5.After connecting to the NAS device, a pop-up window will appear asking you to "Enter the server's username and password". Select "Account", then fill in the username and password from above.
(This username and password are the ones generated earlier in the Cyber Cloud app under "Local Network Sharing" -> "SMB". You can click "View Password" to see them, then enter the corresponding credentials on the TV.)
After entering the account and password, click "Connect" to access the data on the NAS.
6.After successfully connecting to the NAS, you will see two folders: "Personal Space" corresponds to the private space, and "Public Space" corresponds to the public space.